If your organization is moving away from Microsoft Exchange and switching to an IMAP-based email platform, the biggest concern for most IT admins is not the migration itself. It is doing it at scale, across dozens or hundreds of mailboxes, without losing data, creating duplicate emails, or leaving users without access to their inbox while the process is running.
This guide covers exactly that. We will walk through why organizations make this move, what you need to get ready beforehand, and how to complete a bulk Exchange to IMAP migration step by step using EdbMails.
What is Exchange to IMAP Migration?
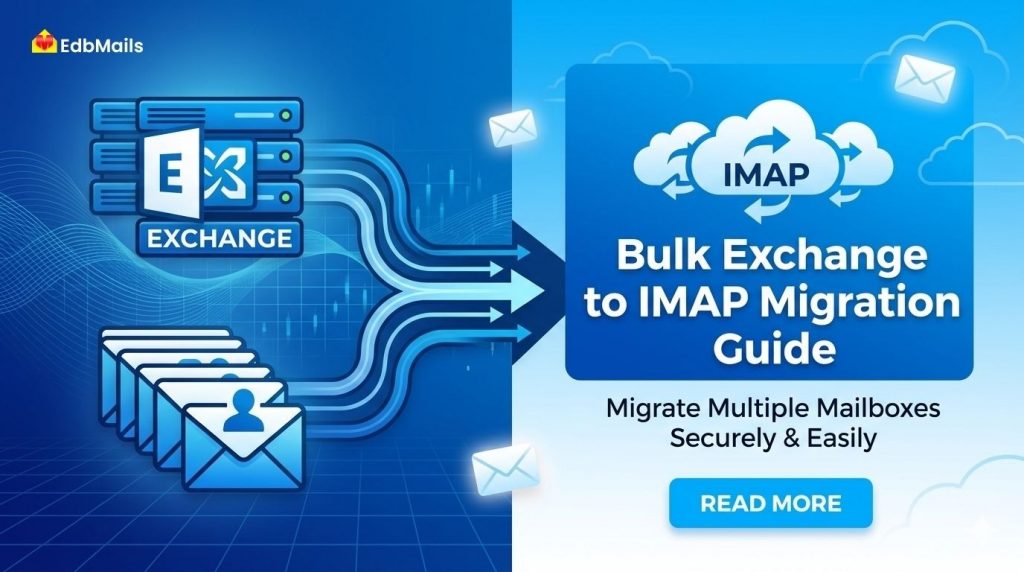
Exchange to IMAP migration is the process of transferring mailbox data, such as emails, folders, and attachments, from an Exchange Server to an IMAP supported email system like Gmail, Zoho Mail, or cPanel-based email servers.
Unlike manual methods, modern migration tools allow bulk mailbox migration, automation, and secure data transfer.
Why Migrate Multiple Mailboxes from Exchange to IMAP?
Here are some common reasons organizations switch to IMAP:
- Access from anywhere: Since emails are stored on the server, users can access their mailbox anytime without being tied to a single system or location.
- Centralized storage: All emails remain on the server instead of being downloaded locally. This reduces the risk of data loss due to device failure or accidental deletion.
- Improved collaboration: Teams can access shared mailboxes more easily, making it simpler to manage group emails like support or sales inquiries.
- Reduced dependency on local backups: With server-side storage, organizations don’t need to rely heavily on individual device backups.
- Better control over data: Admins can manage user access, permissions, and retention policies more efficiently from a central location.
- Flawless migration between providers: IMAP makes it easier to switch email hosting providers without complex configurations or data restructuring.
- Optimized storage usage: Users can manage emails directly on the server, delete unnecessary data, and organize folders without consuming local disk space.
- Support for large mailboxes: IMAP handles growing mailbox sizes better, making it suitable for organizations with high email volumes.
- Consistency across email clients: Folder structure, read/unread status, and flags remain consistent across different email applications.
IMAP servers also allow organizations to customize storage, permissions, and workflows more easily.
Understanding Challenges in Exchange to IMAP Migration
Before starting, it’s important to understand the typical issues:
- Handling large volumes of mailboxes
- Risk of data loss or missing emails
- Downtime during migration
- Manual mapping errors
- Slow migration speeds
This is why most IT teams prefer automated bulk migration tools instead of manual methods.
How EdbMails Exchange Migration Tool Simplifies
EdbMails has a built-in Exchange to IMAP migration path inside its Exchange Server Migration Tool. It connects to your live Exchange server using administrator credentials with impersonation rights, which means you do not need to collect individual passwords from every user. One admin account with the right permissions handles access to all mailboxes.
On the IMAP side, it connects using the target server’s admin credentials or per-user credentials, depending on how your IMAP environment is set up.
The tool migrates emails, attachments, and folder structure. It preserves metadata like sent dates, read and unread status, and original senders and recipients. It works with Exchange Server 2010, 2013, 2016, 2019, and Exchange Online, as well as hosted Exchange environments. For the IMAP target, it works with any standard IMAP server.
For large migrations, the two features that matter most are concurrent migration, which processes multiple mailboxes at the same time instead of one at a time, and incremental migration, which means you can re-run the process and only new or changed items get transferred. No duplicates.
Pre-Migration Checklist
Before starting the migration in EdbMails, make sure everything is properly set up. This helps avoid errors and keeps the process smooth.
1. Prepare the Source Exchange Server
Ensure your Exchange Server is fully prepared for connectivity.
Install the latest cumulative updates to avoid compatibility issues. Assign the necessary permissions to the admin account, including impersonation rights, to allow EdbMails to access all mailboxes.
Finally, verify that all mailboxes are active, functional, and accessible before starting the process.
2. Prepare the Target IMAP Server
Set up the IMAP server before initiating the migration.
Create all user mailboxes in advance and ensure the following details are readily available:
- Email addresses
- Passwords
- IMAP hostnames
- Port numbers
Also, verify that IMAP access is enabled on the server before proceeding.
3. Create a Mailbox Mapping File (CSV)
For bulk migrations, EdbMails uses a CSV file to map source and target mailboxes.
Prepare a CSV file that clearly associates each Exchange mailbox with its corresponding IMAP mailbox. This file can be imported directly into EdbMails during setup, enabling the application to match mailboxes and minimize manual effort automatically.
Accurate mapping helps ensure that every mailbox is migrated to the correct destination without errors or misalignment.
Step-by-Step: Bulk Migration from Exchange to IMAP
Step 1: Choose a Reliable Migration Tool
Manual methods are not suitable for large-scale migrations. Use a professional solution like EdbMails Exchange Migration Tool to handle the process efficiently. It automates key tasks such as mailbox mapping and incremental synchronization.
Step 2: Connect to the Source Exchange Server
Start by creating a new Exchange connection in EdbMails. You can use Autodiscover for a quick setup or configure it manually if needed.
Sign in with an administrator account that has impersonation rights. This allows the tool to access all mailboxes without needing individual user credentials. Once connected, it will load and display the full mailbox list.
Step 3: Select Multiple Mailboxes
After loading the mailboxes, you will see them in an organized view. Select the mailboxes you want to migrate, including user mailboxes, archive mailboxes, and public folders if required.
For larger environments, use the search and filter options to quickly find and select multiple mailboxes.
Step 4: Connect to Target IMAP Server
Enter the IMAP server details such as hostname, port, and security settings.
For bulk migrations, you can upload a CSV file that maps Exchange mailboxes to their corresponding IMAP accounts. Review and confirm the mappings to ensure accuracy before moving ahead.
Step 5: Start Bulk Migration
Once both connections are ready, begin the migration. EdbMails processes multiple mailboxes at the same time, which helps complete large migrations faster.
You can track progress in real time. If needed, enable incremental migration so that only new or updated items are transferred in future runs.
Step 6: Verify Migrated Data
After the migration is complete, review the results within the application. Check folder structures, email counts, and item details to confirm everything is transferred correctly.
It is also recommended to log in to a few IMAP accounts and test email sending and receiving to ensure everything is working as expected.
Key Features to Look for in Bulk Migration Tools
When migrating multiple mailboxes, make sure your tool offers:
- Concurrent mailbox migration (faster processing)
- Incremental migration (avoid duplicates)
- Automatic mailbox mapping
- Selective migration filters
- Zero downtime capability
- Folder structure preservation
These features help ensure accuracy and efficiency during large-scale migrations.
Best Practices for Large-Scale Migration
To avoid issues during bulk migration:
- Run a pilot migration with a few mailboxes first
- Use incremental sync before final cutover
- Schedule migration during off-peak hours
- Keep a backup of Exchange data
- Monitor logs for errors
Post-Migration Tasks
Once the migration is complete:
- Update email client settings (IMAP configuration)
- Enable security features like SSL/TLS
- Remove old Exchange configurations
- Train users on the new email setup
Conclusion
Migrating multiple mailboxes from Exchange to IMAP can be a straightforward and efficient process with the right approach and solution in place. EdbMails Exchange Server to IMAP Migration is designed to simplify large-scale migrations by enabling secure, automated, and high-performance data transfers.
With EdbMails, organizations can automate repetitive tasks, reduce manual effort, and ensure accurate data validation at every stage of the migration process. Its bulk migration capabilities make it easy to handle large volumes of mailboxes without compromising speed or reliability.
When executed using a trusted solution like EdbMails, businesses can transition to IMAP with zero downtime, complete data integrity, and a smooth, uninterrupted user experience.
→ Have questions about your specific setup? EdbMails support is available 24/7 via live chat, phone, and email.