To restrict user activities, an administrator needs to set the permissions. Admin may have company requirements to allow some users access to another user’s mailbox. For example, you may want to allow another user to send or read email from the main user’s mailbox during their absence or send email on behalf of another user. In this case you need to set the permission based on the requirements.
You can give read/write access to a mailbox to another user using mailbox permissions or you can allow a user to read emails from the mailbox, send emails on behalf of another user, and send emails as if they were sent from that mailbox. This article will guide you to set those permissions in Office 365. These permissions can be assigned to other user mailboxes through Office 365 admin center and also in Exchange admin center.
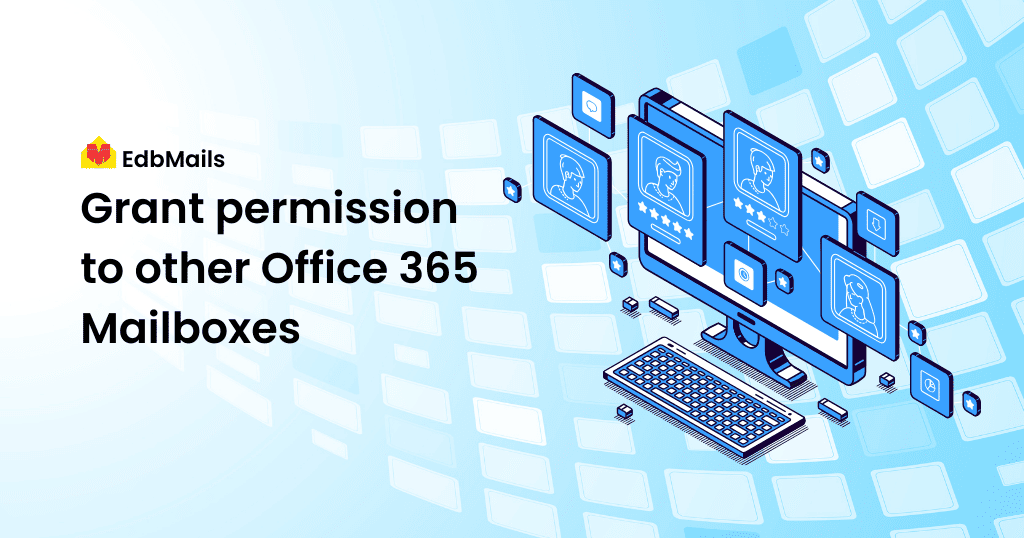
There are three mailbox permissions you need to know
- Read email in another users account (Read and manage)
- Send emails from another user mailbox (Send as)
- Send email on behalf of another user (Send on behalf)
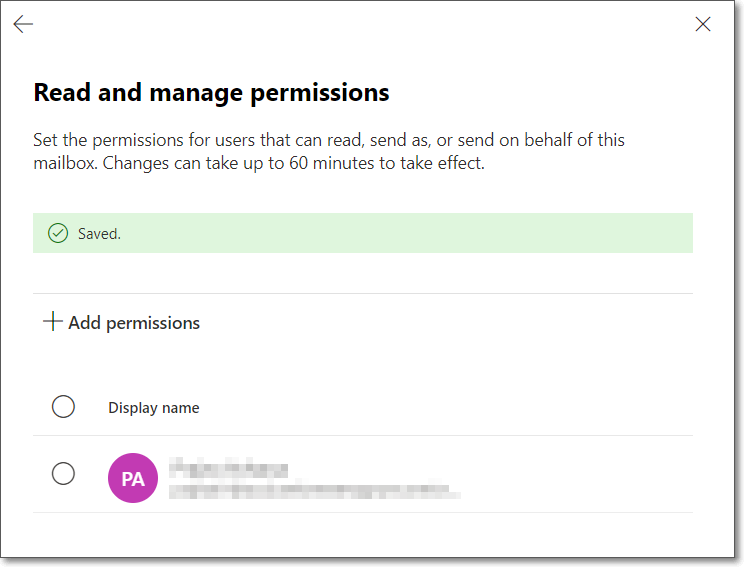
1. Read and manage email in another users account
Read and manage permissions are also called as Full Access permission when granted in the Exchange admin center. It does not grant ‘Send as’ or ‘Send on behalf’ permissions. Follow the steps to set ‘Read and manage permissions’
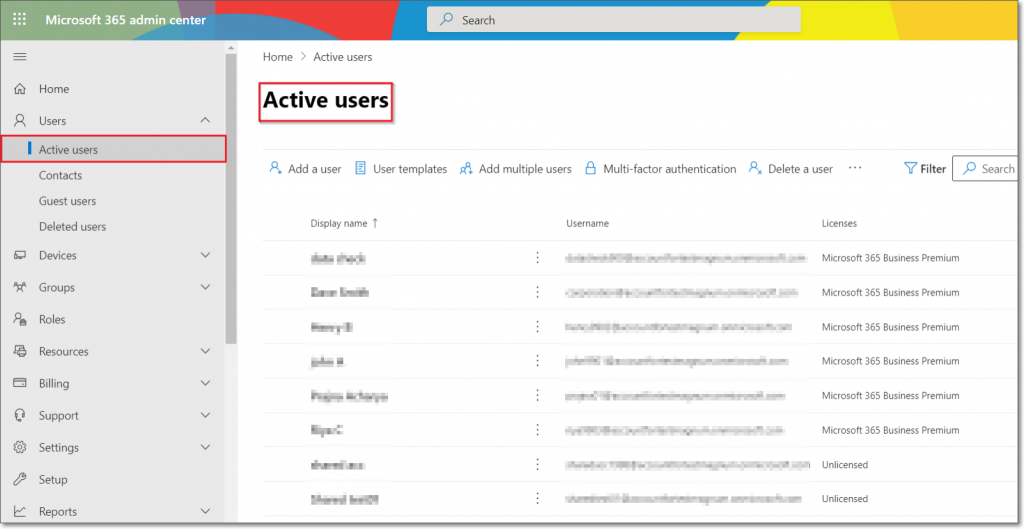
Step 1 : In Office 365 admin center, go to ‘Active users’.
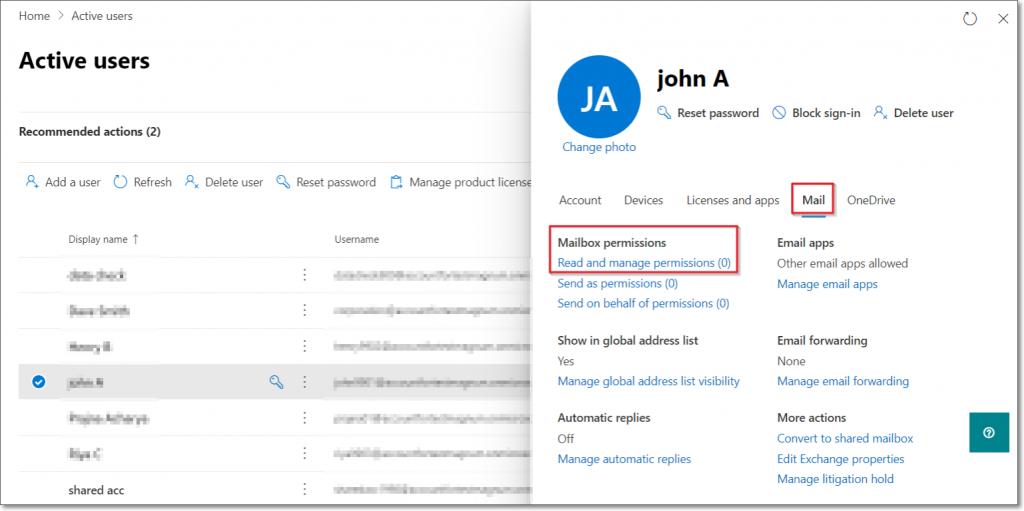
Step 2 : Select the user whose mailbox you want to give access. Click on the ‘Mail’ tab and under Mailbox permissions, select the ‘Read and manage permissions’.
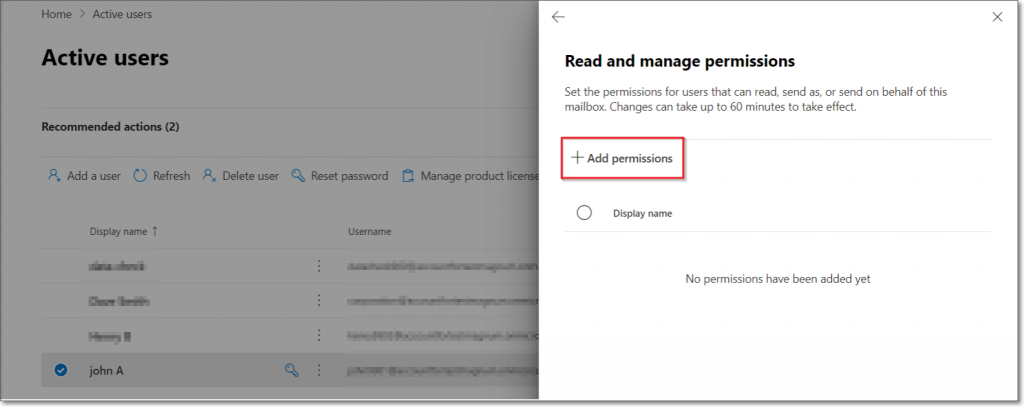
Step 3 : Now click on ‘+ Add permissions’ and select the user to grant the permission.
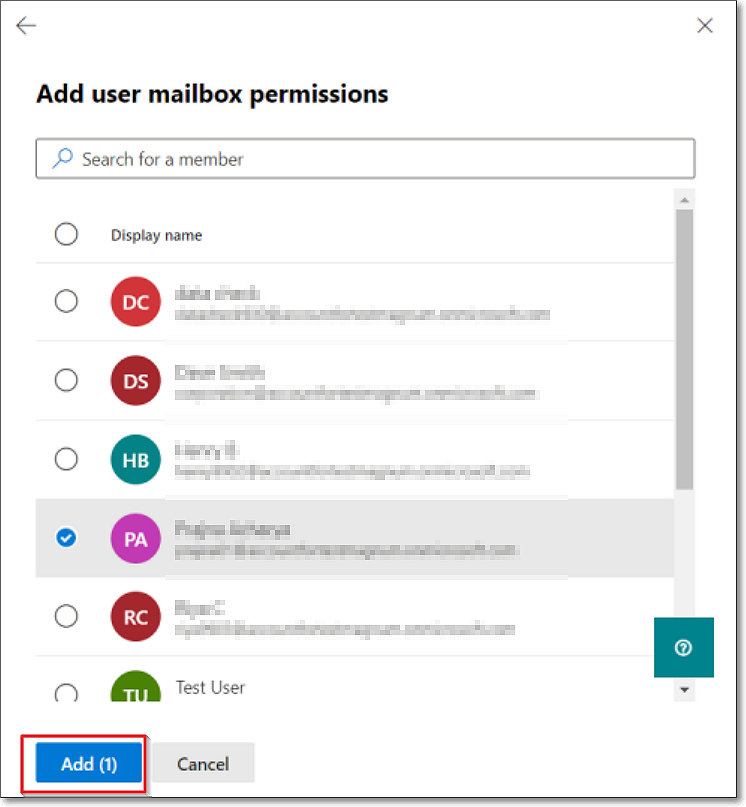
Step 4 : Select a member as per your requirement. Here, this user can read and manage the mailbox of the user selected initially. Then click on the ‘Add’ button.
Step 5 : You will get a Saved confirmation message as shown below.
2. Send emails from another user mailbox (Send as)
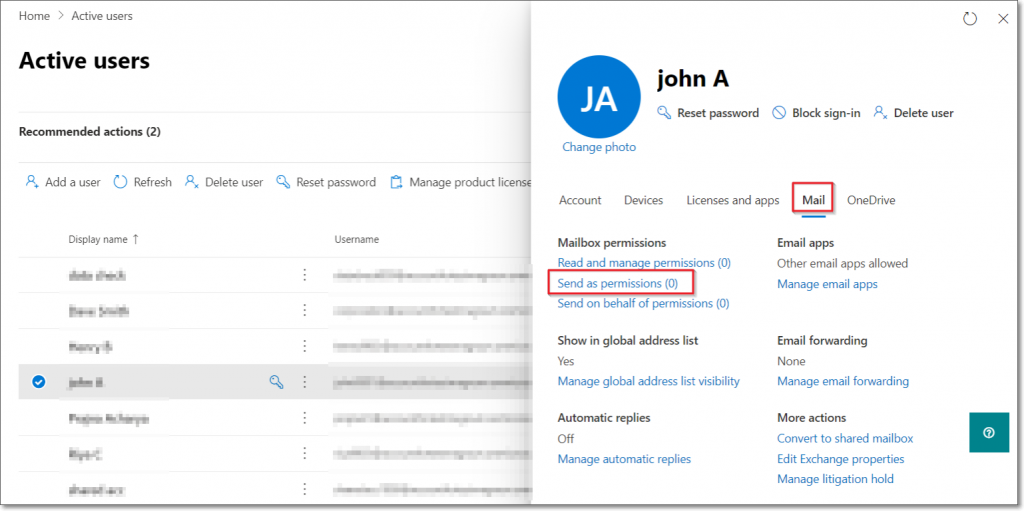
Step 1 : In Office 365 admin center, go to ‘Active users’.

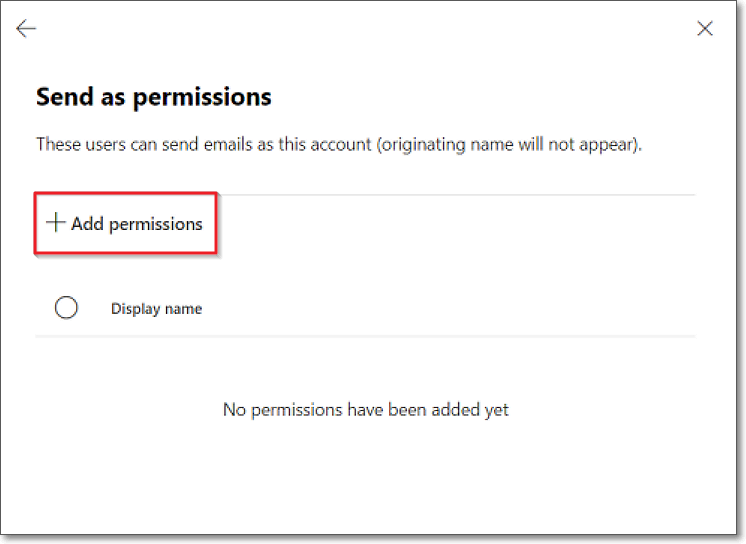
Step 2 : Select the user whose mailbox you want to give access. Click on the ‘Mail’ tab and under Mailbox permissions, select the ‘Send as permissions’ option.
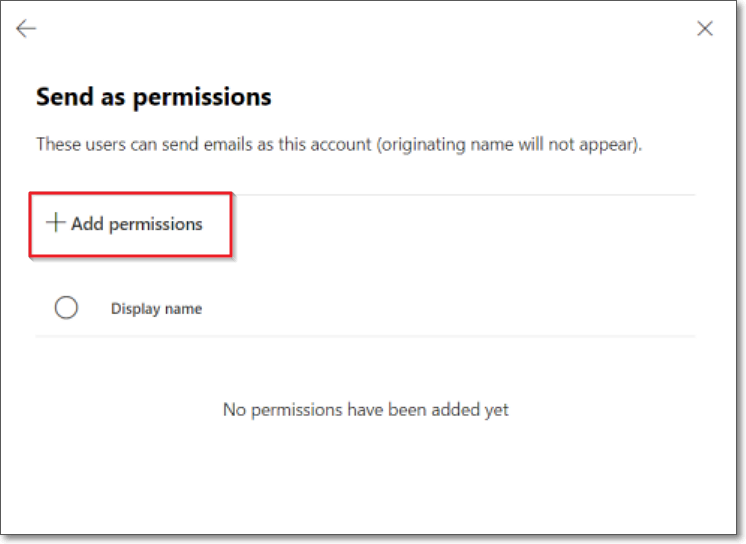
Step 3 : Now click on ‘+ Add permissions’ and select the user to grant the permission.
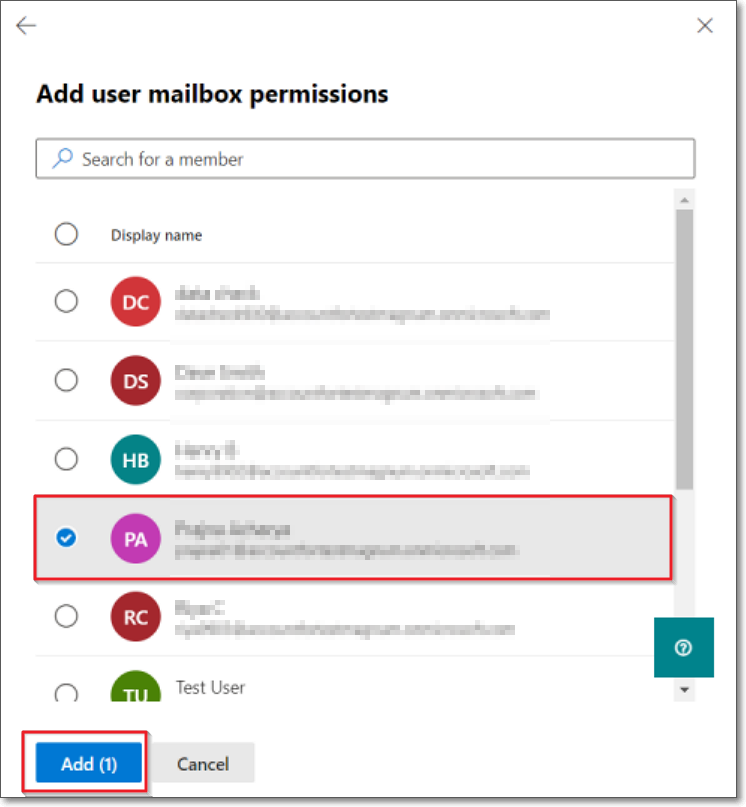
Step 4 : Select a member and click on the ‘Add’ button.
Step 5 : You will get a Saved confirmation message as shown below after adding the user.

3.Send email on behalf of another user (Send on behalf)
Step 1 : In Office 365 admin center, go to ‘Active users’.

Step 2 : Select the user whose mailbox you want to give access. Click on the ‘Mail’ tab as before and under Mailbox permissions, select the ‘Send on behalf of permissions’ option.
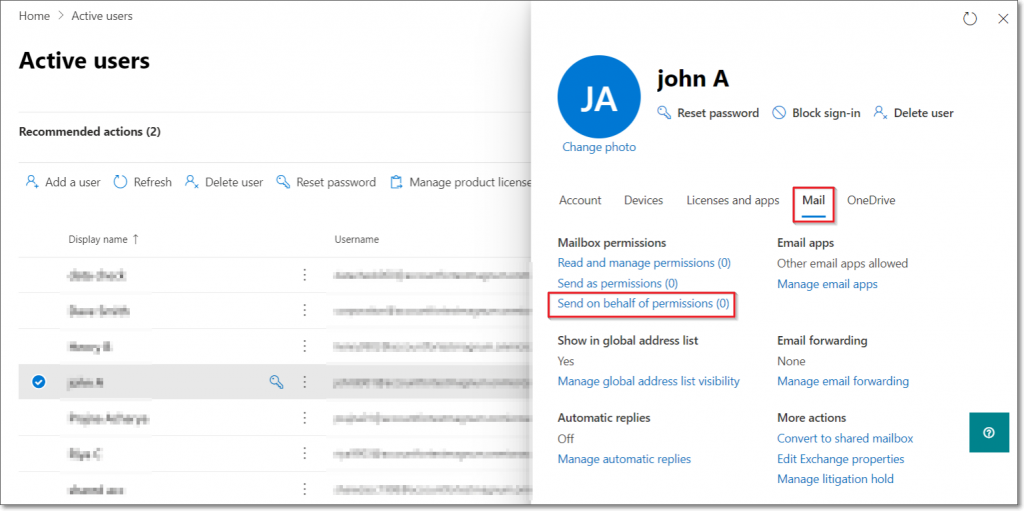
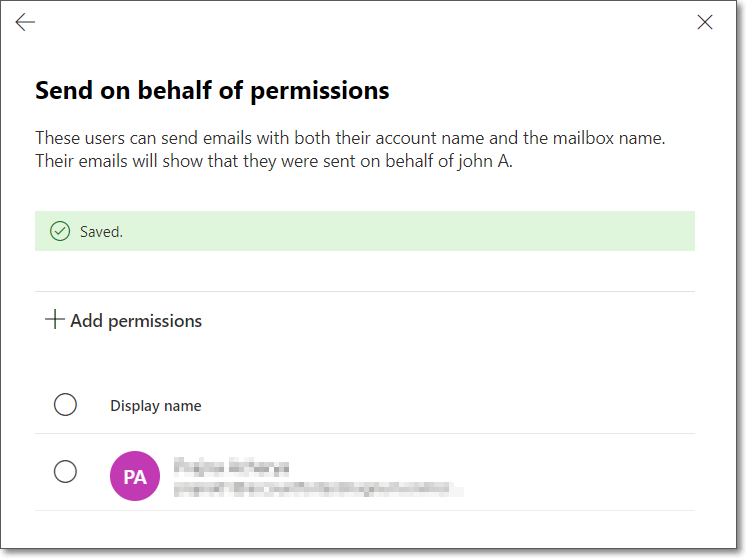
Step 3 : Now click on ‘+ Add permissions’ and select the user to grant the permission.
Step 4 : Select a member and click on the ‘Add’ button at the bottom.

Step 5 : You will get a Saved confirmation message as shown below after adding the user.
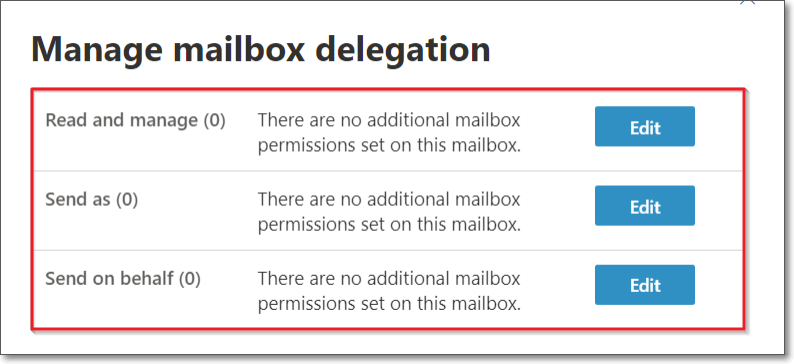
How to set permissions in Exchange Admin Center?
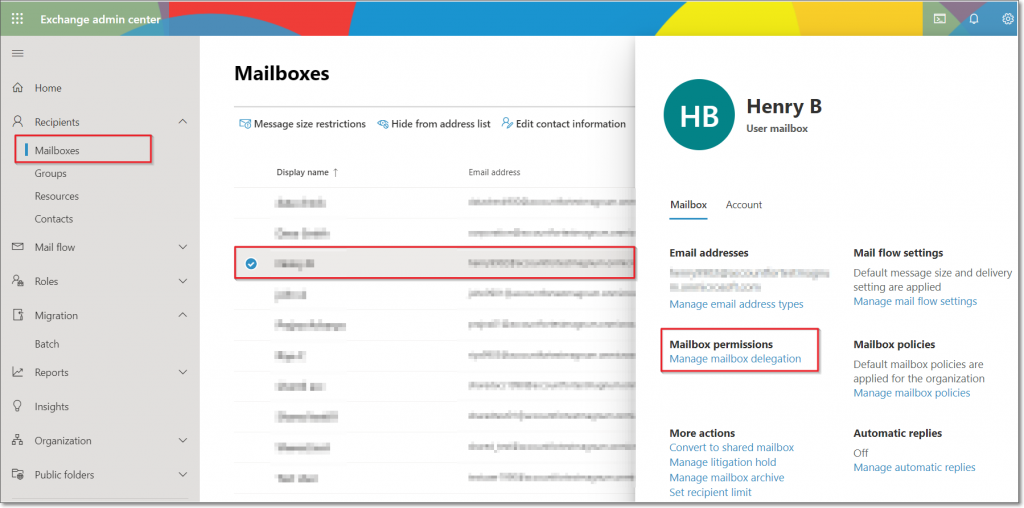
Step1: In Exchange Admin center, go to ‘Mailboxes’ and select the user name to allow access to this mailbox. In the ‘Mailbox’ tab, select ‘Manage mailbox delegation’ under Mailbox permissions as shown below.
Step 2 : Click on the ‘Edit’ option based on the required type of mailbox permission.
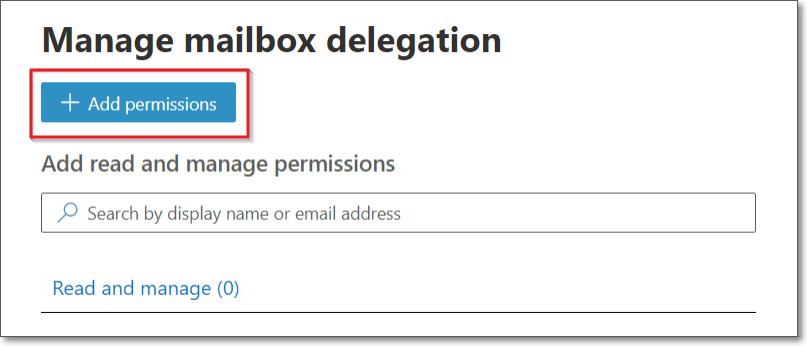
Step 3 : Click on the the ‘+ Add permissions’ button to add the user.
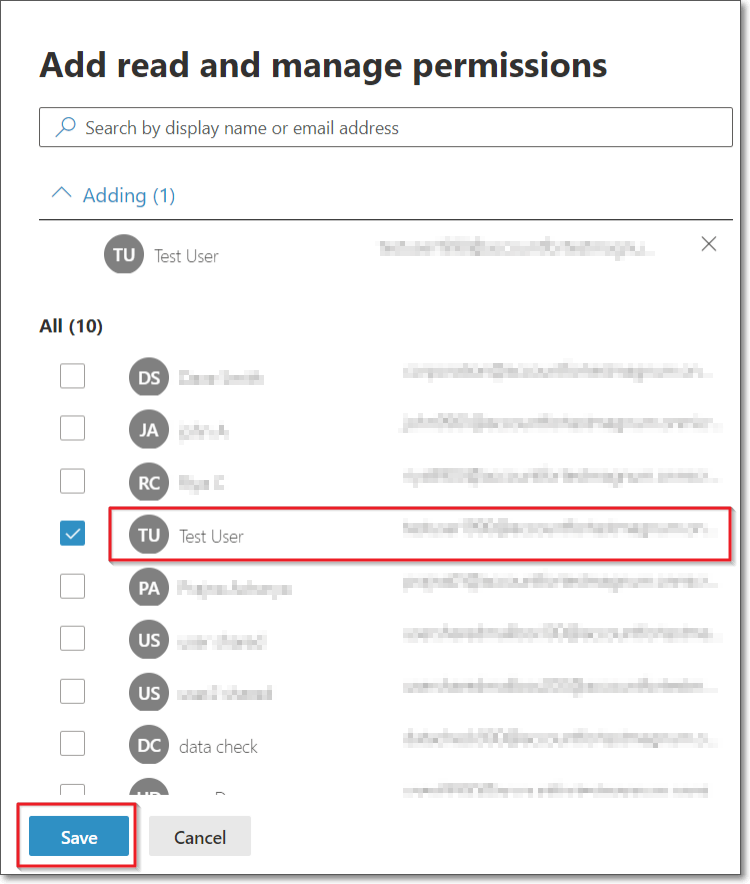
Step 4 : Select the required user(s) and click on the ‘Save’ button at the bottom.
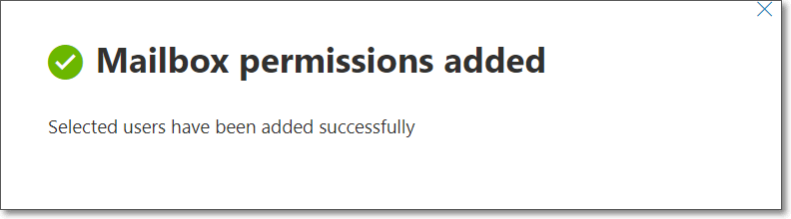
Step 5 : You will get a message as shown below after the saving process is complete.
Know about EdbMails migration tools
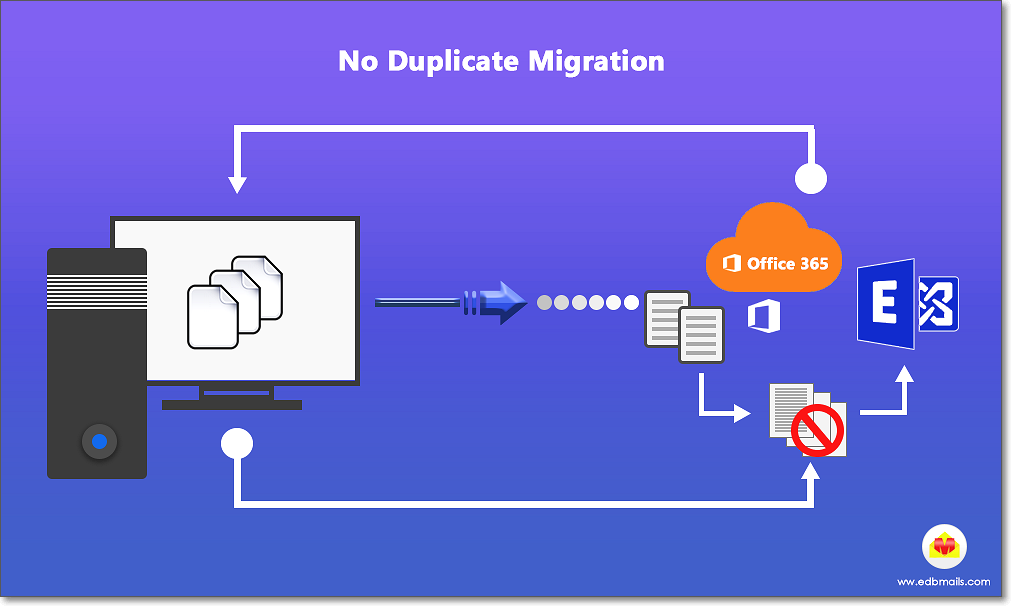
If you have a plan to migrate your data to another mailbox, we suggest you to use EdbMails Office 365 migration software. It is an intuitive tool to migrate/backup/export data from source to target server mailboxes safely without any loss of data. EdbMails supports many useful features such as incremental migration without duplicates, automatic mailbox creation, safe and secure migration, granular migration with selective migration, etc. For more information please visit: https://www.edbmails.com/pages/products.html