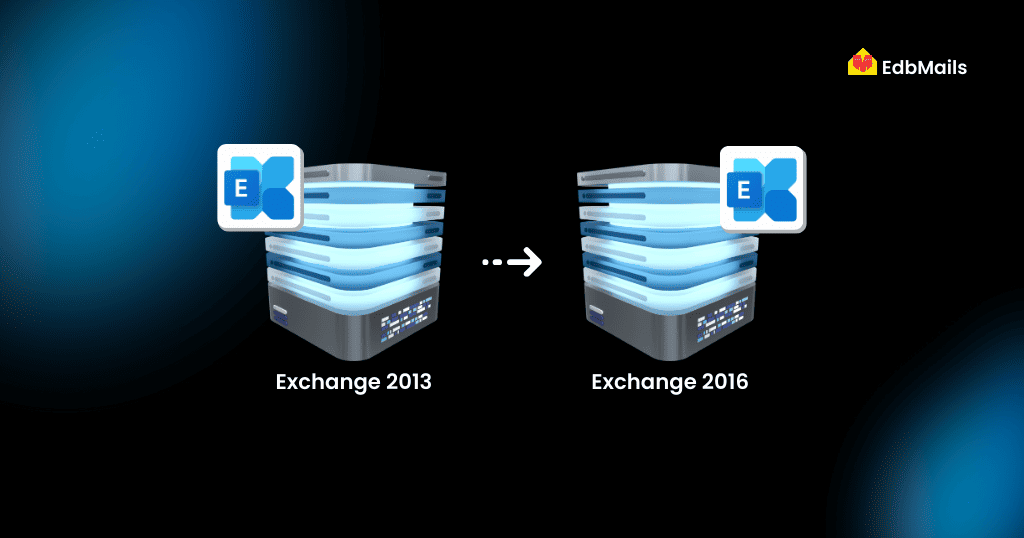
Upgrading from Exchange Server 2013 to 2016 is a natural step for organizations looking to enhance performance, security, and long-term support. Exchange 2016 brings improvements in reliability, modern collaboration features, and better integration with Office 365, making it a preferred choice for businesses still running on Exchange 2013.

However, performing this migration manually can be complex, requiring careful planning, coexistence setups, and technical expertise. This is where the EdbMails Exchange Server Migration tool simplifies the process. With its direct server-to-server migration, true incremental sync, and automatic mailbox mapping, you can securely move mailboxes from Exchange 2013 to 2016 without downtime or data loss. The tool ensures a seamless transition, allowing businesses to focus on continuity while upgrading their Exchange environment.
Why Upgrade from Exchange Server 2013 to Exchange Server 2016?
Upgrading to Exchange Server 2016 offers several advantages that can help organizations improve reliability, security, and performance while preparing for future IT needs. Some of the key benefits include:
- Simplified Architecture – Exchange 2016 uses a more streamlined architecture compared to Exchange 2013, reducing complexity in deployment and management.
- Improved Performance – Faster search capabilities, better Outlook Web App (OWA) experience, and optimized storage utilization make Exchange 2016 more efficient.
- Enhanced Security – Built-in data loss prevention (DLP), updated security protocols, and better compliance features help safeguard sensitive information.
- Hybrid Cloud Readiness – Exchange 2016 provides stronger integration with Office 365 and hybrid environments, making cloud adoption easier.
- Extended Support and Reliability – With longer support timelines and improved failover features, Exchange 2016 ensures business continuity and reduced risks.
- Better End-User Experience – A modern Outlook on the web interface and improved mobile access enhance productivity for users on any device.
By upgrading from Exchange 2013 to 2016, organizations not only gain access to modern features but also future-proof their email system against security risks and support limitations.
How EdbMails Makes the Exchange Server 2013 to 2016 Upgrade Effortless
Older Exchange versions such as 2013 become increasingly vulnerable once Microsoft ends updates, bug fixes, and support. This makes upgrading to Exchange 2016 not only a performance choice but also a security necessity.
Microsoft provides tools like the Exchange Deployment Assistant to guide you through manual methods, often involving coexistence setups and stepwise mailbox moves. However, these approaches are complex, time-consuming, and prone to errors if not handled by experienced admins. Even a minor misstep can lead to downtime or incomplete migrations.
For a direct, faster, and more reliable upgrade path, EdbMails Exchange Server Migration tool is a smarter alternative. It enables seamless mailbox migration from Exchange 2013 to 2016 with no downtime, full data integrity, and an intuitive interface that eliminates the complexity of manual methods.
Advantages of Using EdbMails for Exchange 2013 Migration
- Direct version upgrades – Move mailboxes seamlessly from Exchange 2013 to 2016 or Office 365 without coexistence setups or complex scripting.
- Zero downtime – Users can continue working while the migration runs in the background.
- True incremental migration – Syncs only new and modified items, preventing duplicates and saving bandwidth.
- Automatic mailbox mapping – Source mailboxes are intelligently matched with target mailboxes, reducing manual effort.
- Granular migration options – Migrate entire mailboxes or select specific folders and items.
- Detailed logs and reports – Get full visibility into migration progress for compliance and monitoring.
- User-friendly interface – Simplifies the migration process for both IT admins and non-technical users.
👉 With EdbMails, businesses can ensure a secure, reliable, and efficient Exchange 2013 migration while minimizing risks and complexities.
Simple Steps for Exchange 2013 to 2016 Migration using EdbMails
- Download and install the EdbMails Exchange Migration tool.
- Connect to the Exchange 2013 source server with global admin credentials.
- Select the mailboxes or folders you want to migrate.
- Connect to the Exchange 2016 target server.
- Start the migration with automatic mailbox mapping and incremental sync.
- Verify the results with detailed migration reports.
👉 See the full Exchange to Exchange Migration Guide
Key Takeaways
Migrating from Exchange Server 2013 to 2016 is essential for businesses aiming to improve security, performance, and overall reliability. While manual methods can be complex and time-consuming, EdbMails Exchange Server Migration tool simplifies the process by enabling direct mailbox migration with zero downtime, true incremental sync, and automatic mailbox mapping.
With granular migration options, detailed reports, and a user-friendly interface, EdbMails ensures a smooth, secure, and efficient transition to Exchange 2016, helping organizations take full advantage of the latest features while minimizing risks and disruption.
See More
🔗 Exchange server 2007 move mailbox
🔗 Why EdbMails for Exchange 2013 migration?


