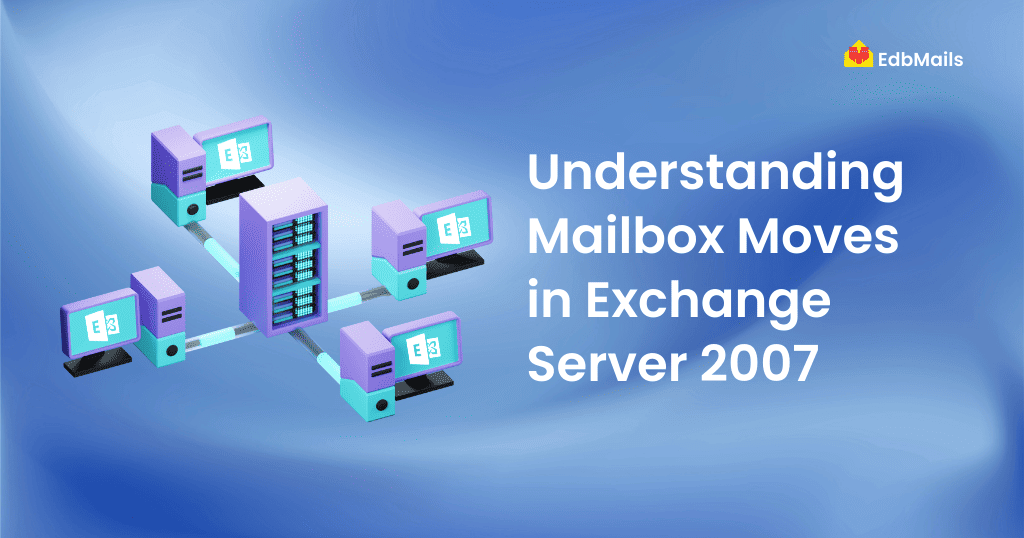
Mailbox moves in Exchange Server 2007 play an important role when upgrading to newer versions or balancing workloads across databases. As Microsoft continues to release updated Exchange versions with better performance and stronger security, organizations using Exchange 2007 are often required to migrate mailboxes to ensure their infrastructure stays secure and efficient. Traditionally, this process involves using the built-in Move Mailbox Wizard or PowerShell commands, which can be complicated and time-consuming, especially for larger organizations.

This is where EdbMails Exchange Server Migration tool makes the transition much easier. It allows you to move data directly from Exchange 2007 to newer versions like Exchange 2013 or 2016, while ensuring complete data integrity throughout the process. The migration is incremental, meaning it avoids duplicate items and saves both time and bandwidth. Administrators also receive a detailed migration summary that helps keep track of the entire process. With its intuitive interface, EdbMails eliminates the technical complexity often associated with mailbox moves, making the upgrade process smooth and reliable for businesses of any size.
Challenges with Exchange 2007 Mailbox Moves
Some common issues admins face include:
- Long migration times for large mailboxes.
- User downtime during the move process.
- Risk of data duplication or incomplete transfers.
- Limited reporting and monitoring features.
- Complexities when migrating directly to newer Exchange versions or Office 365.
Native Methods to Move Mailboxes
In Exchange 2007, administrators can use two main approaches:
- Exchange Management Console (EMC): A graphical wizard that walks you through selecting the source and target database for mailbox migration.
- Exchange Management Shell (EMS): Using the Move-Mailbox cmdlet, you can perform bulk migrations and apply filters for selective mailbox moves.
While these methods work, they often require manual oversight and can be limited in handling large-scale migrations or cross-version upgrades, such as moving from Exchange 2007 to Exchange 2013 or 2016.
EdbMails: A Smarter Way to Move Exchange 2007 Mailboxes
Native methods in Exchange 2007 may work for small mailbox moves, but they become difficult to manage when dealing with large mailboxes, version upgrades, or minimizing downtime. The EdbMails Exchange Server Migration tool simplifies this process by allowing direct migration from Exchange 2007 to 2013, 2016, or Office 365 without PowerShell scripting or complex coexistence setups.
It supports true incremental migration to prevent duplicates, automatic mailbox mapping for accuracy, and offers detailed reports for complete visibility. With its intuitive interface, EdbMails makes migrations faster, secure, and far easier compared to native methods.
Steps to Move Exchange Server Mailboxes with EdbMails
- Download and Install the EdbMails Exchange Migration tool on your system.
- Connect to the Source Exchange 2007 server using global admin credentials.
- Select Mailboxes or Folders you want to migrate.
- Connect to the Target Server (Exchange 2013 / 2016 / Office 365).
- Start the Migration with auto-mapping and true incremental sync.
- Verify Migration using the detailed reports generated by EdbMails.
👉 For a complete step-by-step migration guide, follow this detailed Exchange migration guide.
Advantages of Using EdbMails for Moving Exchange Server Mailboxes
EdbMails Exchange Migration tool simplifies the otherwise complex process of mailbox moves in Exchange 2007 and higher versions. Unlike manual methods, it ensures a smooth, secure, and efficient transition with minimal downtime. Some of the key benefits include:
- Direct Migration Across Versions – Seamlessly move mailboxes from Exchange 2007 to 2013, 2016, or even Office 365 without coexistence setups or complicated PowerShell commands.
- True Incremental Migration – Transfers only new and modified items during subsequent syncs, preventing duplicates and saving bandwidth.
- Selective Migration – Choose specific mailboxes, folders, or even item-level data to move based on your needs.
- Automatic Mailbox Mapping – Source mailboxes are intelligently mapped to target mailboxes, reducing manual effort.
- Reduced Downtime – Users can continue working during migration, minimizing business disruption.
- Detailed Reporting – Get complete visibility into the migration progress with comprehensive reports.
- User-Friendly Interface – The tool is designed for both IT admins and non-technical users, making migrations straightforward.
By leveraging EdbMails, organizations gain a reliable and cost-effective solution for Exchange mailbox moves while ensuring data integrity, security, and efficiency.
Wrapping Up
Migrating mailboxes in Exchange Server 2007 is a critical step for organizations looking to upgrade their infrastructure, maintain security, and ensure continued business productivity. While native methods such as the EMC or EMS can handle smaller moves, they often fall short when it comes to large-scale migrations or cross-version upgrades.
EdbMails Exchange Migration tool provides a modern, simplified, and reliable solution for these challenges. With features like incremental sync, automatic mailbox mapping, detailed reporting, and direct migration to Exchange 2013, 2016, or Office 365, it helps businesses achieve a seamless transition with minimal downtime.
By choosing EdbMails, organizations can eliminate the complexity of native methods and focus on what matters most — a secure, efficient, and uninterrupted Exchange migration.
👉 Download EdbMails Exchange Migration tool and start your secure Exchange 2007 mailbox move today.
You May Also Like
🔗 How to migrate Hotmail data to Office 365 using EdbMails?
🔗 How to Handle Email Migration and Ensure the Safety of Your Data
🔗 Migrate Exchange 2010 Mailboxes to Office 365 Using Cutover Migration
🔗 Migrating older version of Exchange server to Exchange server 2016


