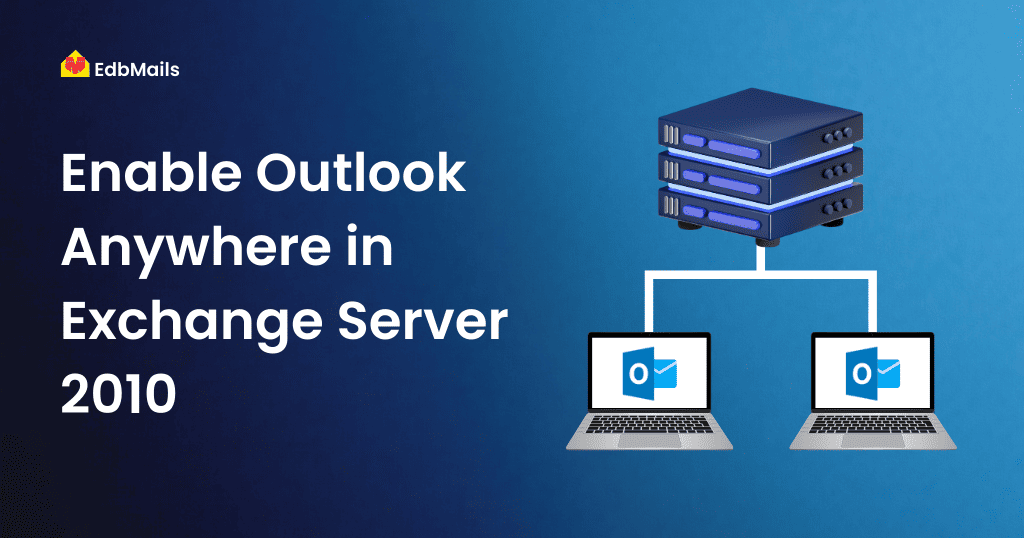
Outlook Anywhere is a service provided by Client Access Server role that allows Outlook users to have a secure connection remotely to Exchange mailbox through internet. It is called as ‘RPC over HTTPS’ before 2007. In Exchange Server 2007 and 2010 it is called as ‘Outlook Anywhere’. Outlook Anywhere replaces VPN (virtual private network) requirement for the users to connect to their Exchange server. This can be enabled manually using Client Access Server.
Following are the three important prerequisites to be considered before enabling Outlook Anywhere in Exchange Server 2010:
- Install a trustworthy SSL Certificate provided by any CA authority which is trusted by the client.
- Install Ms Windows RPC over HTTP Proxy component if it’s not already installed.
- You need to have an Exchange Server administrator account.
There are two methods to enable Outlook Anywhere option:
- Using EMC –Exchange Management Console
- Using Shell commands
Enable Outlook Anywhere Using Exchange Management Console:
- Login to Exchange Server and open Exchange Management Console.
- Go to ‘Server Configuration’ and click the ‘Client Access’ option under console tree.
- Click the ‘Enable Outlook Anywhere’ option in the action pane.
- Enter the URL or external host-name for the organization in field ‘External host name’ in the Enable Outlook Anywhere popup screen. This URL (ex: site.example.com) will be used by the users to connect to their Exchange Server along with Outlook Anywhere.
- Choose client authentication method. Select either NTLM or basic authentication. Don’t select Negotiate Ex authentication. This authentication is needed for future use of Microsoft and not meant for this Outlook Anywhere option. Authentication will fail with this type.
In Basic authentication method, username and password will be sent in a clear text format. Here every time user has to enter username, domain and password when they try to connect to their Exchange Server.
In NTLM authentication method, the user credentials will never be sent or transferred over network. Here the client system and server System exchange user credentials in hashed format. It can use current operating system logon information too (windows operating system). This authentication method is more secured one. But NTLM authentication may not function with firewall which modifies and test traffic. In such cases you can go for any advanced firewall server like Microsoft Internet Security and Acceleration (ISA) Server 2006 along with the NTLM authentication. - Select the ‘Allow secure channel (SSL) offloading’ option only if you are using an SSL accelerator and you need SSL offloading. This option removes encryption and decryption of SSL connection to any third party device.
- Click the Enable button to save the updated settings.
- Click the Finish to complete the configuration.
Enable Outlook Anywhere Using Shell:
To know how to enable Outlook anywhere using shell, let’s use an example client user with example domain name.
Use GetOutlookAnywhere cmdlet to enable Outlook Anywhere option through shell.
Enable-OutlookAnywhere -Server ‘ Example1’ -ExternalHostname ‘site. example.org’ -DefaultAuthenticationMethod ‘Basic’ -SSLOffloading $false
Here in the above example, Client Access server named ‘Example1’ enabled to use Outlook Anywhere with its external host-name as ‘site.example.org’, the default authentication set to Basic, SSL offloading option is set to false.
To check whether the feature Outlook Anywhere is enabled or not in Exchange Server 2010,
- Hit the Start button and type “Eventvwr” in Run window.
- Choose Windows Logs -> Application from the console tree.
- Click the event “MSExchange RPC over HTTP Autoconfig” in the actions pane and verify that event ID is 3006. Outlook Anywhere is configured, if it exists.
Configure Outlook Anywhere for Outlook 2010:
- Open Outlook and then click the File menu.
- Click the ‘Account Settings’, and then click Account Settings.
- Click the ‘New’ option in the ‘Email’ tab.
- In the next window ‘Auto Account Setup’, Select the ‘Manually configure server settings or additional server types’ option and click the next button.
- Choose ‘Microsoft Exchange’ as E-mail Service, and click on the next button.
- Enter Exchange Server name and the user name in the “Microsoft Exchange Settings” window.
- Now Click the “More Settings” button and click the Connection tab.
- Select “Connect to Microsoft Exchange using HTTP” under Outlook Anywhere option. Then click the “Exchange Proxy Settings” tab.
- Enter URL to connect to proxy Server in connection settings. Select the “Connect using SSL only” option
- Select the proxy authentication method as Basic or NTLM. Then click the Ok button to complete the configuration.
- Now when you open MS Outlook 2010, Outlook Anywhere service will be accessible and you can access Exchange mailboxes through remote connection.