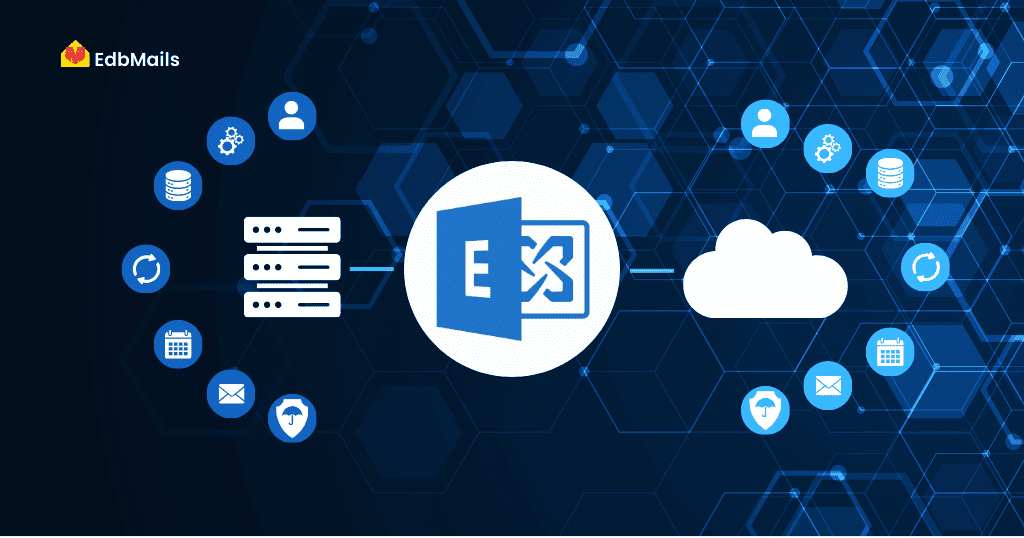
Migrating to Exchange Online is a common step for organizations looking to modernize their email and collaboration systems. While the process of moving mailboxes from on-premises Exchange to Office 365 can be challenging, hybrid deployment offers a seamless way to connect both environments. It enables smooth coexistence, ensuring some data stays on local servers while the rest moves to the cloud—making the transition secure, flexible, and less disruptive.

Prerequisites
Before starting the steps to migrate to Exchange Online, make sure the following requirements are in place:
- Since we are using batch migration, the time required will depend on the number of mailboxes included in each batch.
- Ensure that the proper Mailbox Move and Migration Permissions are assigned to the account performing the migration.
- For Exchange 2013, verify that the Mailbox Replication Proxy Service (MRSProxy) is enabled on the Client Access Server (CAS).
Steps to Migrate to Exchange Online
Once you’ve configured a hybrid deployment between your on-premises Exchange organization and Office 365, follow these steps to complete the migration:
1. Create a Migration Endpoint
- Set up a migration endpoint with the connection settings for the Exchange Server running MRS Proxy service.
- This is essential for mailbox transfers in a hybrid environment.
2. Enable MRS Proxy (Exchange 2013)
If you’re migrating from Exchange 2013, enable the MRS Proxy service:
- Open Exchange Admin Center (EAC).
- Navigate to Office 365 > Recipients > Migration and click the + icon.
- Choose CAS > EWS virtual directory and click Edit.
- Select MRS Proxy enabled and save the settings.
3. Move Mailboxes to Exchange Online
- Open EAC > Office 365 > Recipients > Migration and click +.
- Select Migrate to Exchange Online > Remote move migration.
- Add users from your on-premises Exchange to migrate.
- Enter the on-premises Exchange administrator credentials when prompted.
- Confirm the migration endpoint (FQDN of your server).
- Configure the migration batch:
- Provide a batch name.
- Specify the target delivery domain (e.g., your Office 365 primary SMTP domain).
- Enable Move primary mailbox along with archive mailbox.
- Provide a batch name.
- Start the batch:
- Assign a recipient for the migration completion report.
- Select Automatically start the batch and Automatically complete the migration batch.
- Assign a recipient for the migration completion report.
💡Note: The same remote move migration wizard can also be used for moving mailboxes from Office 365 back to on-premises Exchange.
4. Remove Completed Batches
- After successful migration, remove completed batches:
- Go to EAC > Office 365 > Recipients > Migration.
- Select the completed batch and click Delete.
- Confirm deletion when prompted.
- Go to EAC > Office 365 > Recipients > Migration.
👉🏻 Post-Migration Tip: To re-enable offline access in Outlook on the web (OWA) after migration, users must reset the offline access setting from their browser.
Common Challenges in Exchange Online Migration
Even though Microsoft provides native options for Exchange migration, organizations often face difficulties such as:
- Handling large mailbox sizes that slow down migration batches.
- Managing coexistence between on-premises and cloud environments.
- Network bandwidth limitations during mailbox data transfer.
- Ensuring zero disruption to end-user productivity.
- Post-migration tasks like DNS updates, reconfiguring Outlook profiles, and resetting offline access.
These challenges highlight the importance of using a reliable Exchange Server migration tool that simplifies the process and minimizes risks.
A Smarter Way to Migrate to Exchange Online
Native migration methods can be time-consuming, complex, and prone to errors due to the manual effort required at each step. To simplify the process and ensure a smooth transition, many organizations rely on professional Exchange Server migration tools.
With EdbMails Exchange Migration, you can move mailboxes directly from your Live Exchange Server to Office 365 without the need to configure complex coexistence or hybrid environments. The tool supports granular and incremental migration, enabling you to selectively migrate emails, calendars, contacts, tasks, and other mailbox items.
Key Advantages of Using EdbMails
- Direct server-to-server migration without complex setup
- No downtime ensuring uninterrupted business operations
- Granular migration to move only what you need
- Incremental sync to avoid duplicate data during subsequent migrations
- Supports batch mailbox migration for faster, large-scale moves
- Secure data transfer with end-to-end encryption
EdbMails helps reduce downtime, maintain data integrity, and streamline large-scale migrations—making it a secure, efficient, and business-ready solution for organizations planning to migrate to Exchange Online.
👉 Download EdbMails Exchange Migration Tool and start your seamless migration to Exchange Online.
Conclusion
Migrating to Exchange Online is an essential step for organizations that want to modernize communication and collaboration while reducing the overhead of maintaining on-premises servers. Although native methods are available, they often come with complexity, downtime, and post-migration challenges. Using a professional tool like EdbMails Exchange Migration ensures a smooth, secure, and hassle-free transition with minimal disruption to business operations. By simplifying mailbox transfers, supporting incremental sync, and guaranteeing data integrity, EdbMails makes Exchange Online migration straightforward for organizations of every size.


