OST to Live Exchange migration enables users to move their Outlook OST file data directly to a Live Exchange Server, ensuring continued access to emails, contacts, calendars, and other mailbox items in a secure online environment. While Microsoft 365 offers a range of collaboration tools, Microsoft Exchange Server remains a widely used platform for managing mailbox data online. This migration process requires valid Exchange Server credentials to transfer OST data to the target server.
Why Migrate OST Files to Live Exchange?
There are several reasons to migrate an OST file to Live Exchange, depending on user requirements or organizational needs. Some of the most common include:
- Server failure causing OST files to become orphaned
- Unexpected system shutdown leading to OST file corruption
- Requirement to recover data from damaged OST files
- Ability to access data without relying on the local server
- No requirement for additional hardware setup
- Access to the extensive features and capabilities of Exchange
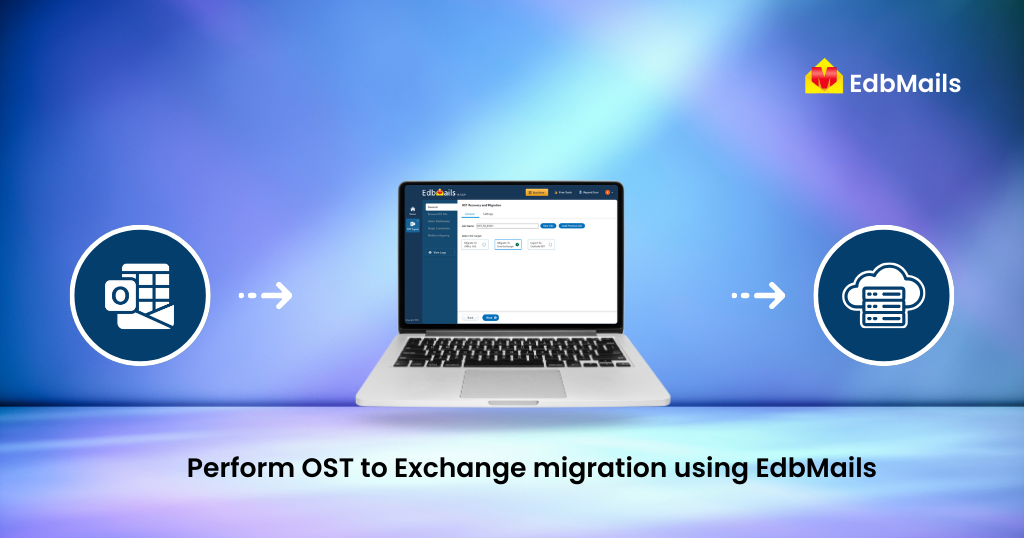
Migrate OST to Live Exchange Server using EdbMails
EdbMails offers a user-friendly and efficient solution for migrating OST files to Live Exchange Server. With its intuitive interface, both technical and non-technical users can perform migrations without complications. The software ensures data integrity through features like incremental migration (to avoid duplicate items), selective item migration, and preservation of the original folder hierarchy on the target server.
It also enables automatic mailbox mapping, supports parallel migration for faster performance, and ensures zero downtime, allowing uninterrupted access to mail services during the process. EdbMails includes robust security measures to safeguard sensitive data and is compatible with all Exchange Server versions, making it a reliable choice for organizations of any size.
Simple Steps for OST to Live Exchange Migration using EdbMails
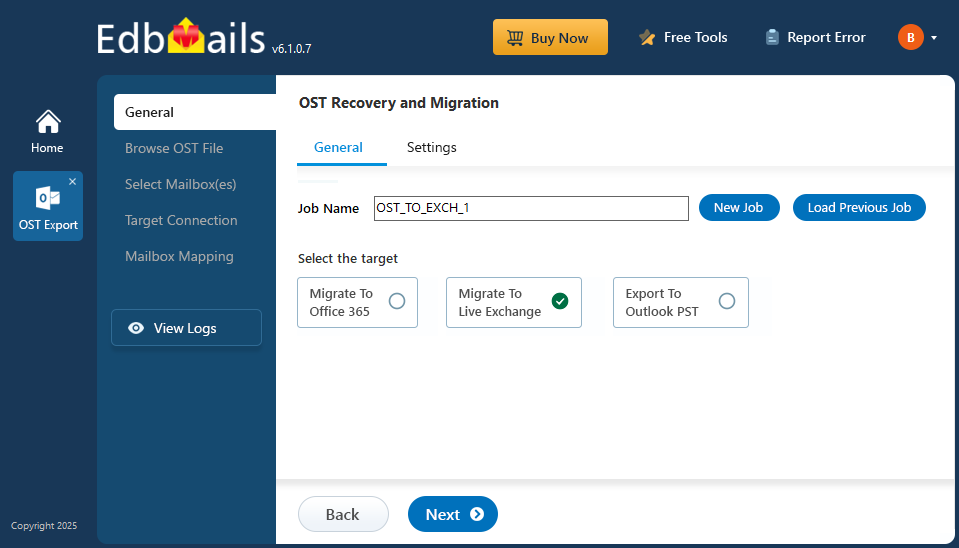
- Download & Install EdbMails on your system.
- Select the OST to Live Exchange Migration option.
- Add the OST file to the application.
- Choose the mailboxes or items you want to migrate.
- Connect to your Live Exchange account.
- Map source mailboxes to target mailboxes.
- Start the migration process.
Conclusion
EdbMails offers a simple and reliable way to migrate OST files directly to Live Exchange Server with complete data integrity. It ensures a smooth transfer of emails, contacts, calendars, and attachments while preserving the original folder structure. With features like incremental migration, automatic mailbox mapping, and zero downtime, the process is fast and uninterrupted. Compatible with all Exchange versions, EdbMails is ideal for recovering orphaned or corrupted OST files and meeting organizational migration needs securely.
See More
How to migrate OST to Office 365 using EdbMails?
Native Methods to Convert OST to PST File
Exchange Server Migration and Backup Wizard using EdbMails
Free OST viewer to Open and Read OST files securely by EdbMails