An Offline Storage Table (OST) file is a synchronized, offline copy of your Office 365 or Exchange mailbox data in Microsoft Outlook, stored locally on your computer. It allows you to access and work on your mailbox even without an internet connection. For users with accounts on Exchange Server, Outlook automatically creates an OST file for each mailbox on the local machine.
With an OST file, you can read emails, draft messages, add or delete items, and make updates offline. Once the internet connection is restored, Outlook automatically syncs all the changes with the Exchange Server.
However, OST files have certain limitations. If your local computer crashes before changes are synced, unsaved updates may be permanently lost. As a cached copy of mailbox data, OST files can also consume significant disk space over time. While some recovery tools can restore OST files, complete data integrity is not always guaranteed. Additionally, because OST files are stored locally, they remain vulnerable to physical damage or disasters at the user’s location.
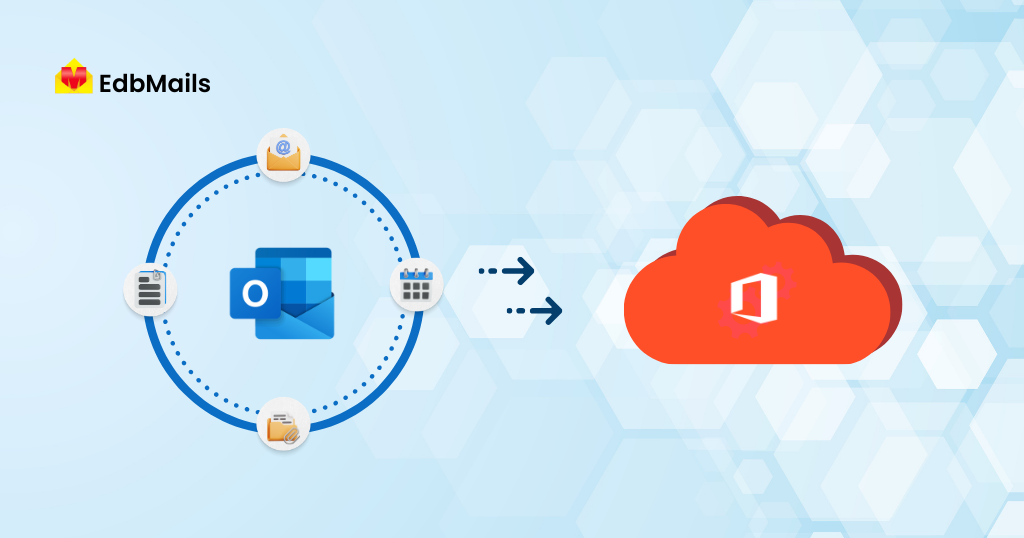
Organizations are increasingly migrating their on-premises Exchange mailbox data to cloud platforms like Office 365 due to its wide range of features and integrations. Office 365 seamlessly works with other Microsoft Office applications and offers flexible licensing options based on the number of users. It provides web-enabled access to email and data from virtually any device, including computers, iPhones, Android phones, and BlackBerry smartphones. With its advanced security measures, scalability, and anywhere-access, many Exchange users prefer storing a copy of their mailboxes on Office 365 to ensure both convenience and data protection.
Common reasons for migrating OST to Office 365 include:
- Access mailbox data from anywhere without relying on a local server To take advantage of Office 365 services.
- Take advantage of Office 365’s advanced features and integrations
- Protect data from local PC crashes, corruption, or virus attacks
- Collaborate easily with team members and external partners
- Eliminate the need for additional on-premises hardware
- Ensure automatic updates, patches, and security enhancements
- Benefit from built-in security, compliance, and backup options in Office 365.
- Support business continuity and remote work with cloud-based accessibility.
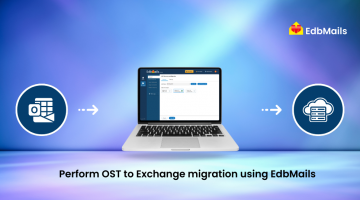
Migrate OST to Office 365 Easily with EdbMails
EdbMails offers a fast and straightforward solution to import OST files directly to Office 365 without the need to first convert them to PST format, saving both time and effort. Its incremental migration feature ensures that no duplicate items are created in the target mailboxes during subsequent migration runs. Additionally, EdbMails allows installation on multiple computers, enabling parallel OST migrations for faster processing and reduced downtime.
Features of EdbMails OST to Office 365 Migration solution:
- Perform selective mailbox or item migration
- Apply advanced filters by date, subject, and attachment
- Support for incremental migration to move only new or updated items
- Retain original folder hierarchy on the target server
- Avoid duplicate items during migration
- Prevent any loss of data during transfer
- Automatically map source and target mailboxes
- Create mailboxes on the target server automatically if they do not exist
Steps to Perform OST to Office 365 Migration using EdbMails
- Download and install the EdbMails application on your system
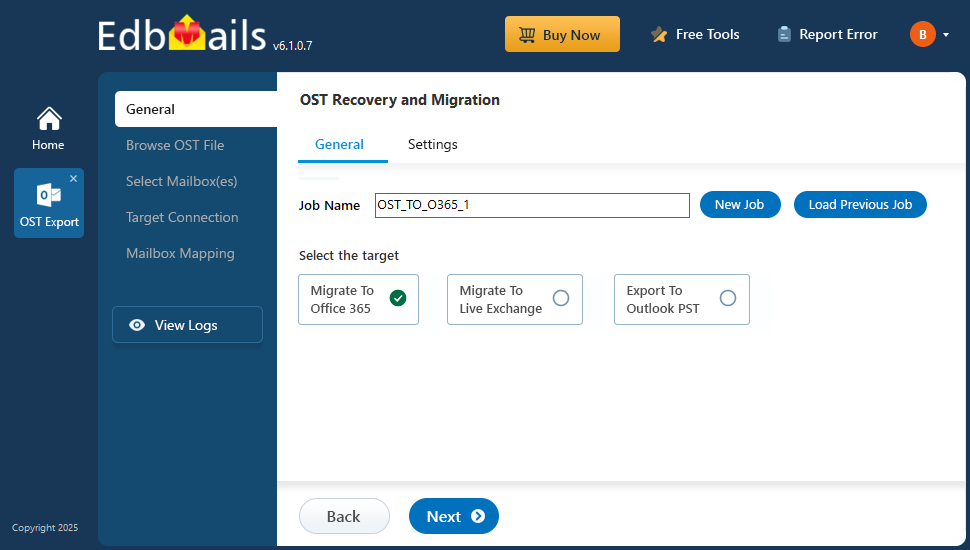
- Select the OST to Office 365 migration option
- Browse and add the OST file to the application
- Select the required mailboxes, folders, or items you wish to migrate.
- Connect to the target Office 365 account
- Map source mailboxes to target mailboxes
For a detailed step-by-step tutorial with screenshots, visit the EdbMails OST to Office 365 Migration Guide.
Conclusion
Migrating OST files to Office 365 offers secure, anywhere access to your mailbox along with advanced collaboration and productivity features. EdbMails OST to Office 365 Migration simplifies the process by allowing direct OST import without PST conversion, ensuring no duplicates with incremental migration, and retaining the original folder structure. With features like selective migration, automatic mailbox mapping, and parallel processing, it’s a reliable solution for organizations of any size to move data quickly and securely while maintaining complete data integrity.
See More
🔗 Best Solution to Compact an OST in Outlook
🔗 How to Create or Rebuild an Outlook OST File