In SharePoint Online, administrators have the ability to control user access by configuring customized permission settings. This is a crucial step in preventing unauthorized access to specific sites and ensuring the overall security of business data. Based on organizational needs, admins can assign permission levels such as Read, Edit, Full Control, or Design, which define what actions users are allowed to perform within a site. These permissions also help restrict users from modifying sensitive content or making unwanted changes to important information. For this reason, it is essential for administrators to be familiar with managing and customizing permissions as per changing requirements. In this article, we will explore the different ways to adjust and apply permissions in a SharePoint site.
Default Permission Settings in SharePoint Online
By default, SharePoint follows an inheritance model for permissions. This means that access and permission levels automatically flow from a parent site down to its subsites and content. The default settings are:
- Subsites inherit permissions from their parent site.
- Site content such as documents, files, and lists inherit permissions from the parent site.
- A SharePoint site inherits permissions from the root site of the site collection.
This inheritance helps maintain consistency and makes permission management easier. However, administrators can break inheritance and apply unique permissions whenever a business needs more control.
How to Remove Inherited Permissions in SharePoint Online
In SharePoint Online, permissions are inherited from parent to child by default. The purpose of this inheritance is to help administrators assign permission levels once and have them automatically applied throughout the SharePoint hierarchy. However, in cases where a specific list or library requires different access, administrators can break this inheritance and assign unique permissions. This allows precise control over who can view, edit, or manage content, ensuring data security while meeting specific business requirements.
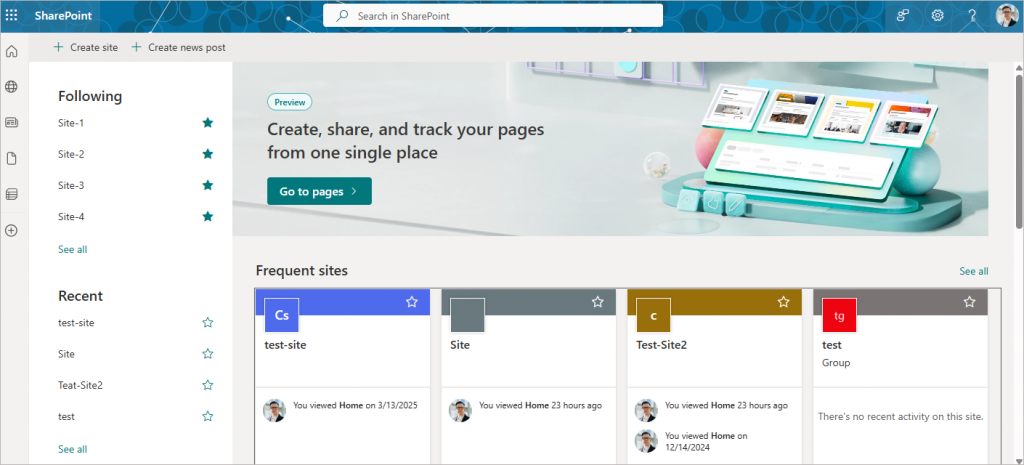
- Open SharePoint Online and navigate to the site where you want to assign a new permission level.
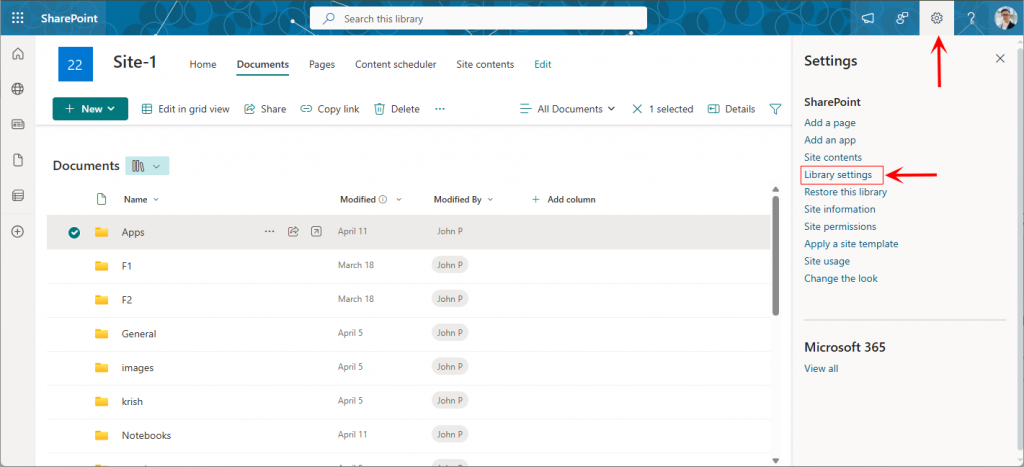
- Select the item within the site, click the gear icon in the top-right corner, and then choose Library settings from the menu.
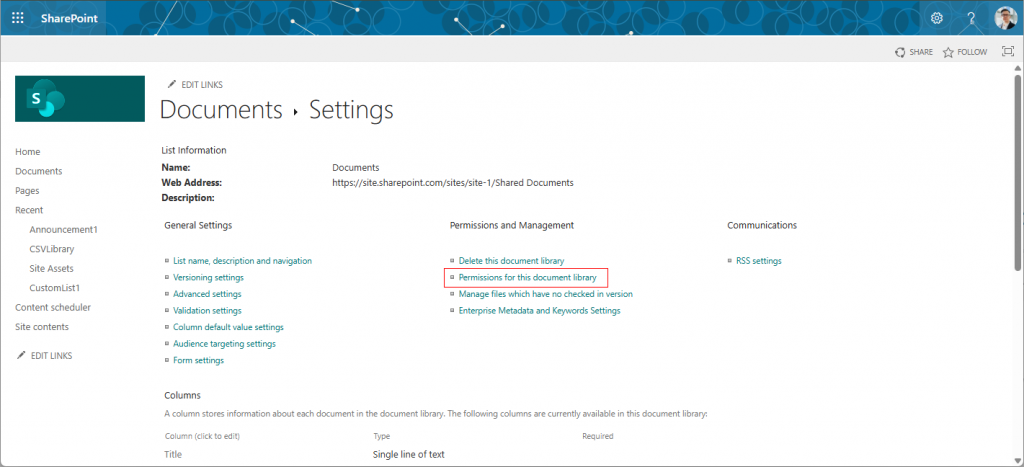
- Click on Permissions for this document library under the Permissions and Management section.
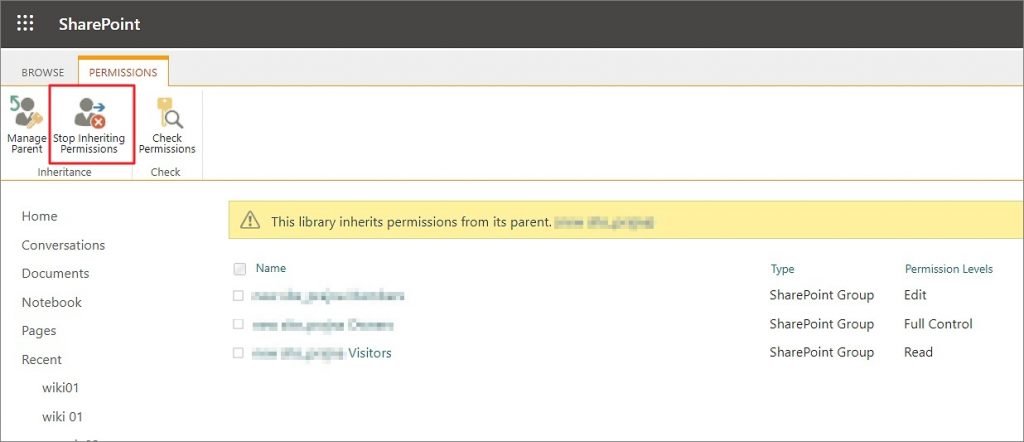
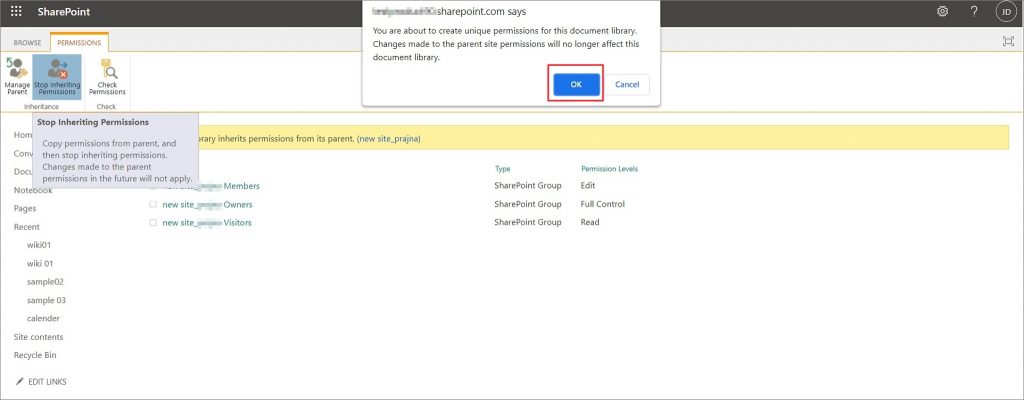
- Under the PERMISSIONS section, you will see the Stop Inheriting Permissions option. Click it to break the permission inheritance for the library.
- After completing the above steps, an alert will appear asking you to save your changes. Click OK, and you can now assign a new, unique permission to the selected document library.
How to Grant Site Access in SharePoint Online by Assigning Unique Permissions
To grant site access in SharePoint Online, start by adding users to a group. Once users are part of a group, you can provide access to the entire set of users at once. SharePoint has three default permission groups:
- Members – Users can add and edit content.
- Owners – Users have full control over the site, including managing settings and permissions.
- Visitors – Users can view content but cannot make changes.
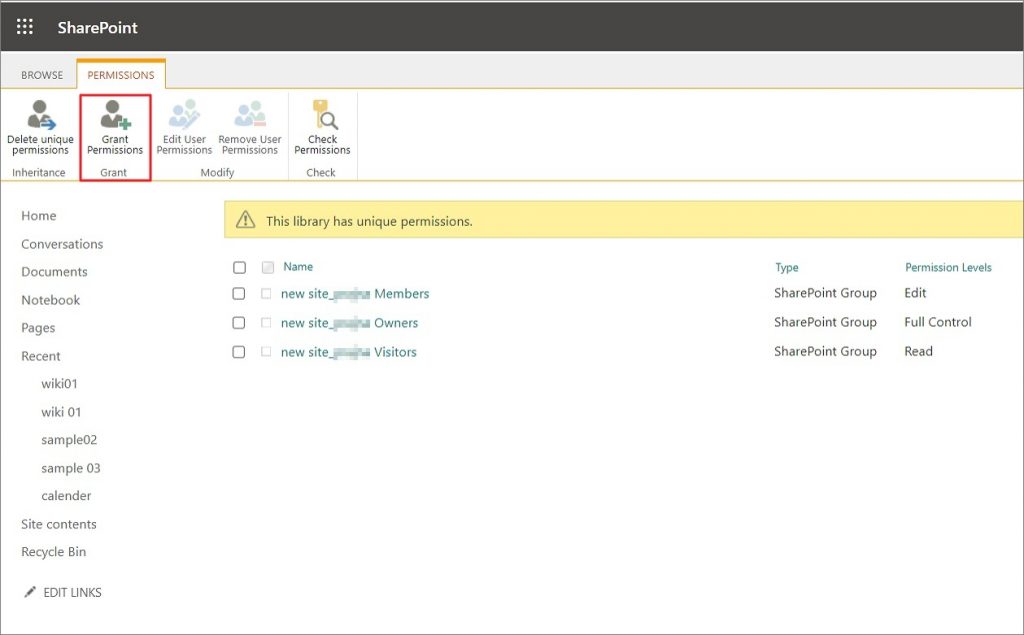
Adding a user to any of these groups automatically assigns the appropriate permission level for the site. For instance, a user with Edit permission can modify documents but cannot delete them. To assign access, click on the Grant Permission option as shown in the interface.
You can invite specific users to access the SharePoint site by entering their details in the provided field. Before sending the invitation, you can set the desired permission level for each user. To choose a different permission level, click on ‘Show Options’ and select the appropriate access level. This ensures that users receive only the permissions they need while maintaining site security.
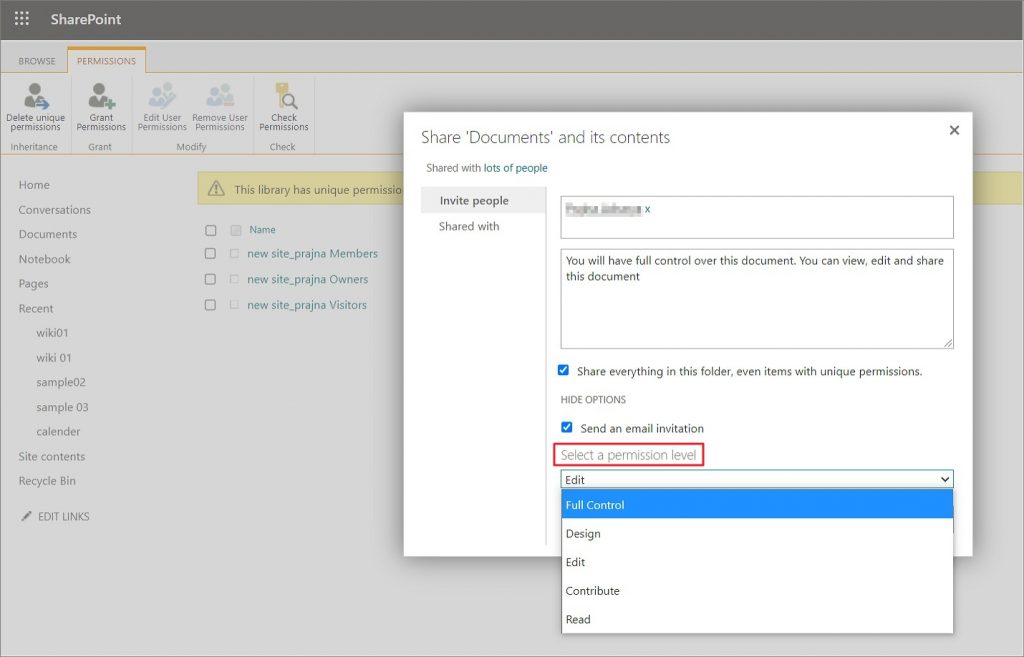
After setting the desired permissions, click the Share button. A confirmation notification will appear, indicating that the invitation has been successfully sent.
How to Add, Change, or Remove a Site Collection Administrator in SharePoint Online
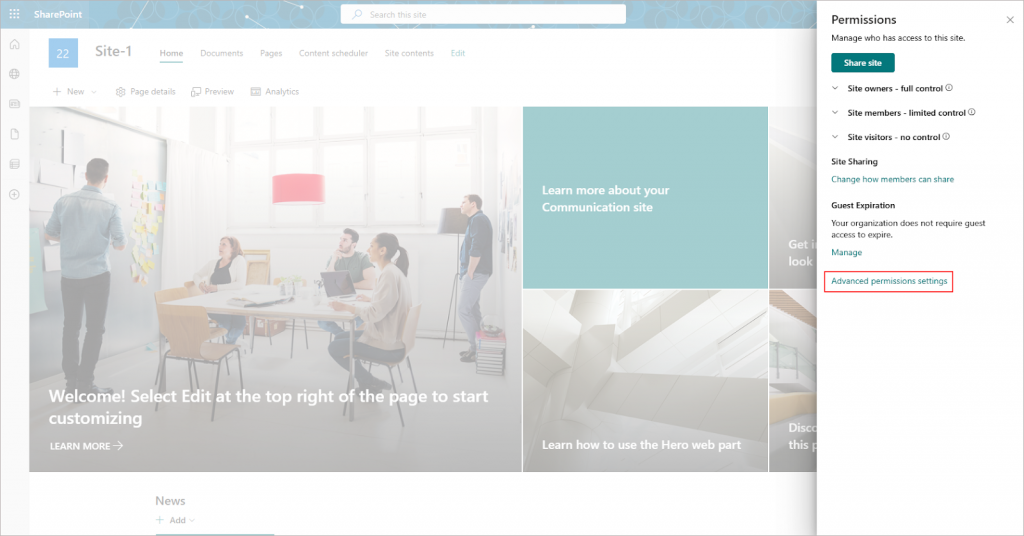
- Select the desired site, click the gear icon in the top-right corner, and then choose Site Permissions from the menu.
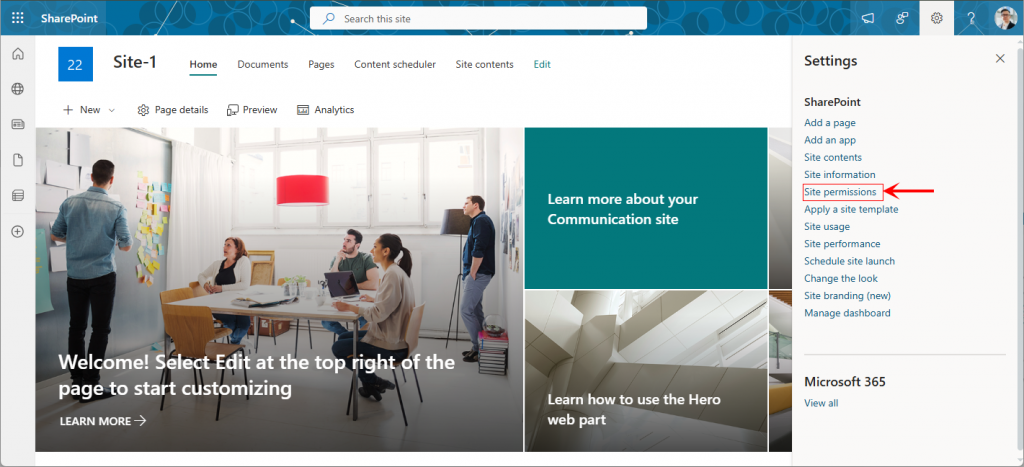
- Click on Advanced permissions settings to access detailed permission management for the site.
- Next, click on the Site Collection Administrators option.
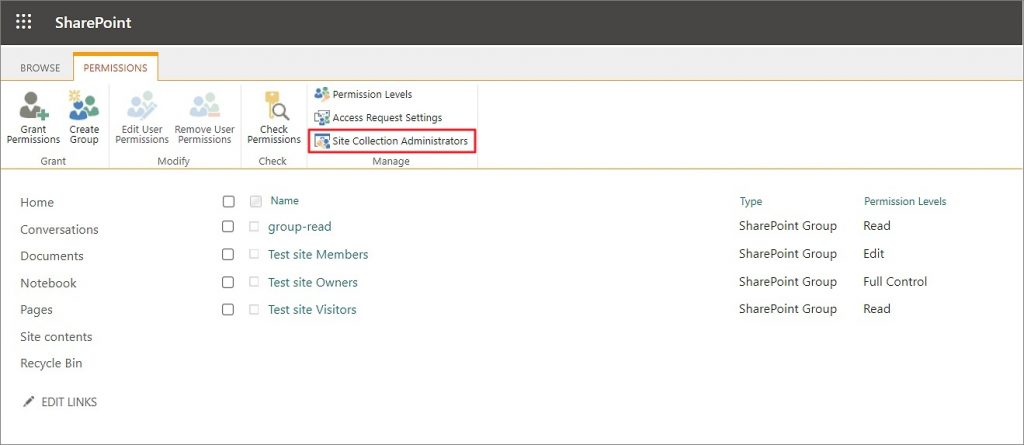
- Here, you can remove an existing admin, add a new admin, or change the site collection administrator. Once your changes are made, click OK to save them.

EdbMails SharePoint Online Migration and Backup
EdbMails provides a fast, reliable, and easy-to-use solution for SharePoint Online migration and backup. With EdbMails, you can efficiently migrate or back up your SharePoint sites while ensuring data integrity and security.
- Incremental Migration and Backup – Avoid duplicate data by migrating or backing up only new or changed items.
- Granular Selection – Migrate or back up only the specific data you need, such as documents, lists, or libraries.
- Full Site Collection Support – Perform migration and backup for complete SharePoint site collections in a single operation.
EdbMails helps businesses save time, reduce errors, and maintain seamless access to SharePoint data during migration or backup operations.
Conclusion:
Customizing and managing permissions in SharePoint Online is crucial for ensuring data security, controlled access, and efficient collaboration. By understanding default permission settings, breaking inheritance when needed, and assigning unique permissions, administrators can control who can view, edit, or manage sites, libraries, and documents. Granting site access through groups or individual invitations and managing site collection administrators ensures proper oversight and smooth operations. Additionally, using solutions like EdbMails for SharePoint migration and backup allows businesses to save time, prevent errors, and maintain seamless access to critical data. Together, effective permission management and reliable migration/backup practices help organizations maintain security, compliance, and operational efficiency in SharePoint Online.
Read More: