In the last decade, the way organizations manage communication and collaboration has drastically changed. Businesses have moved away from traditional on-premises email servers to cloud-based platforms like Google Workspace (formerly G Suite) and Microsoft Office 365 (Microsoft 365). These platforms provide scalability, high availability, security, and productivity tools that empower teams to work from anywhere.
However, as organizations grow, their needs evolve. Many companies that initially adopted G Suite find themselves moving to Office 365 for deeper integration with Microsoft applications such as Outlook, SharePoint, OneDrive, and Teams. In particular, Office 365 provides In-Place Archive Mailboxes, which are critical for managing large volumes of email data while keeping primary mailboxes clutter-free.
Migrating G Suite mailboxes to Office 365 Archive Mailboxes ensures that historical and compliance-related emails are preserved securely while freeing up space in active mailboxes. This is especially important for industries such as healthcare, finance, and legal services, where strict data retention policies must be followed.
Gmail vs G Suite vs Google Workspace
- Gmail (Free): A personal email service provided by Google for individuals. It offers email, contacts, calendar, and access to apps like Google Drive. However, it is not designed for enterprise-level administration.
- G Suite (Legacy): A business-focused version of Gmail that offered domain-based email, administrative control, and collaboration tools for organizations.
- Google Workspace (Current): The rebranded version of G Suite (since October 2020) with enhanced collaboration features such as Google Meet, shared drives, enterprise-grade security, and flexible subscription plans.
While Google Workspace is powerful, many organizations prefer Office 365 for its desktop applications (Word, Excel, Outlook), enterprise-grade compliance, integration with SharePoint, Teams, and better cost-effective licensing models.
Why Migrate from G Suite to Office 365?
Some common reasons businesses move from Google Workspace to Microsoft 365 include:
- Familiarity with Microsoft Tools
Many organizations already use Outlook, Word, Excel, and PowerPoint. Migrating to Office 365 ensures a unified ecosystem. - Desktop and Offline Access
Office 365 provides both web and desktop apps, while Google Workspace is primarily browser-based. - Compliance and Archiving
Office 365 includes In-Place Archive mailboxes, eDiscovery, and retention policies that meet strict compliance regulations like HIPAA, GDPR, and FINRA. - Security and Threat Protection
Microsoft 365 offers Defender for Office 365, advanced anti-phishing, multi-factor authentication (MFA), and encryption features. - Integration with Microsoft Ecosystem
Businesses can seamlessly connect email with Teams, OneDrive, and SharePoint for collaboration and document management.
Challenges with Native Migration Methods
Yes, Google provides native ways to migrate mailboxes to Office 365, but they come with several challenges:
- Size Limitations – Large mailboxes may fail or take a long time.
- Manual Work – Requires preparing CSV files with all user accounts.
- PowerShell Dependency – Needs scripting knowledge for advanced scenarios.
- Throttling & Interruptions – Migration can stop midway due to Google or Microsoft throttling policies.
- No Direct Archive Mailbox Migration – Native methods often require post-migration steps to move data into archive mailboxes.
This is why organizations prefer a specialized tool like EdbMails IMAP Migration Tool for direct and reliable migration.
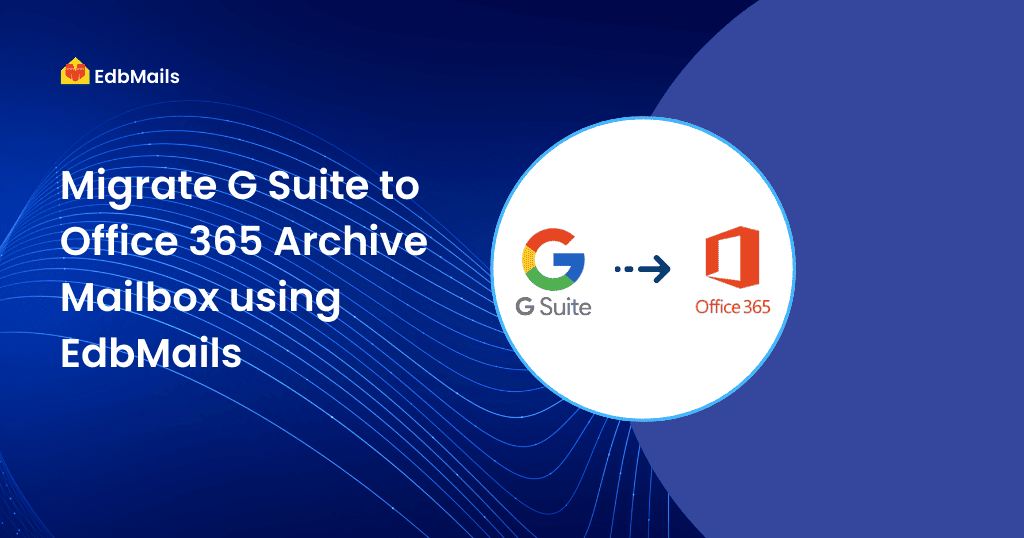
Migrate G Suite to Office 365 Archive Mailbox using EdbMails
EdbMails simplifies the migration process by providing an automated, secure, and full-featured migration experience. It ensures incremental migration, maintains folder hierarchy, and directly migrates mailboxes to Office 365 archive mailboxes without data loss.
Step-by-Step Migration Guide
Step 1: Download and Install EdbMails
Step 2: Login to EdbMails or Start Free Trial
Step 4: Connect to G Suite (Source Server)
Step 5: Select Mailboxes for Migration
Step 6: Connect to Office 365 (Target Server)
Step 7: Connect to Archive Mailbox (In-Place Archive).
Step 8: Load and Map Mailboxes
Step 9: Start Migration
Detailed Guide: Connect to IMAP Single User
Detailed Guide: Connect to Multiple IMAP Users
Detailed Guide: Mailboxes Mapping
Post-Migration Best Practices
Once your migration is complete, consider these steps:
- Verify Mailbox Data – Ensure all items are in place, including folders and attachments.
- Set Retention Policies – Configure archive retention rules in Office 365.
- Update DNS/MX Records – Redirect mail flow from Google to Microsoft.
- Decommission Google Workspace – Once fully verified, disable old accounts.
- Backup Office 365 Mailboxes – Use EdbMails Office 365 Backup to safeguard your data.
Conclusion
Migrating from G Suite to Office 365 Archive Mailboxes is not just about email transfer – it’s about ensuring compliance, long-term retention, and seamless user experience. While manual methods can be error-prone and complex, EdbMails G Suite to Office 365 Migration Tool offers a fast, secure, and fully automated way to move data directly into Office 365 archive mailboxes.