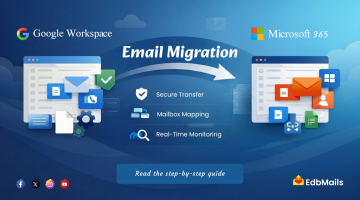
Importing PST files into Office 365 is a straightforward process when following the proper steps. Below is a clear guide to help you perform this task efficiently.

Simple steps to import PST to Office 365
- Copy the PST files using azcopy.exe from the Microsoft Azure Storage Tools.
- Create a matching file (CSV file) to map PST files to target mailboxes.
- Import the data into the Office 365 mailboxes.
PST file upload
In the Office 365 Admin Center, the Office 365 Import Service is accessible as a link on the main admin page. This import service is a new feature in Office 365 designed to streamline PST uploads.
Steps to upload PST files:
- Carefully verify the PST files and ensure accurate mailbox mappings.
- Upload all PST files to Azure Storage using the following command:
AzCopy /Source:C:\myfolder /Dest:https://myaccount.blob.core.windows.net/mycontainer /DestKey:key /S
The /S option uploads all files in the specified directory to Blob storage recursively.
Matching file creation
After uploading the PST files, you must create a matching file. This is a CSV file that identifies:
- Source PST file name
- Target mailbox
- Folder where the data should be imported
A sample CSV structure is as follows:
Workload,FilePath,Name,Mailbox,IsArchive,TargetRootFolder,SPFileContainer,SPManifestContainer,SPSiteUrl
Exchange,,PSTNAME.pst,ObjectID,FALSE,/,,,
Ensure that the headers and values are accurate to avoid errors during import.
Importing the data into mailboxes
Once the PST files and matching CSV file are ready, begin the import process. Note that you need the Exchange “Mailbox Import Export” role to perform this task.
Steps to import:
- Select New Job and choose Upload Data over the Network in the import wizard.
- Indicate that the data has already been uploaded and that the matching file is ready.
- Enter a job name when prompted.
- Provide the location of the matching file on your local machine.
The import process will begin, and a summary page will be displayed once the import job is completed.
Read more: