In Exchange Server 2013 and 2016, public folders are stored inside mailbox databases instead of using a separate public folder database. This makes them more reliable and supports high availability with DAG. However, moving public folders from older Exchange versions isn’t a simple process and needs careful steps.
Prerequisites before Migrating Legacy Public Folders to Exchange 2013/2016:
- If you’re using Exchange Server 2003, you must first upgrade to 2007 or 2010. Direct migration is not supported. Alternatively, a third-party tool like EdbMails can simplify this process.
- For Exchange 2007, Service Pack 3 RU10 or later must be installed.
- For Exchange 2010, ensure that Service Pack 3 or later is installed.
- Legacy public folders and modern public folders cannot coexist in the same Exchange organization.
- The migration process involves planned downtime, so schedule accordingly to minimize disruptions.
- Users with legacy mailboxes cannot access modern public folders in Exchange 2013/2016.
- In Exchange 2013/2016, public folders are stored within mailbox databases—not separate databases. Therefore, begin by migrating user mailboxes and preparing the environment before starting the public folder migration.
Overcoming Exchange Migration Challenges with EdbMails
Direct migration from Exchange Server 2003 to Exchange 2013/2016 is not natively supported by Microsoft. Although migration scripts are available from the Microsoft Download Center, they require manual script adjustments, mapping CSV files, and locking public folders—leading to potential downtime and service disruption.
To avoid these complexities and ensure uninterrupted availability, EdbMails offers a streamlined and intuitive solution for migrating from legacy Exchange servers to modern versions. It eliminates the need for scripting and simplifies the process with a few guided steps.
Here’s how to perform the migration using EdbMails:
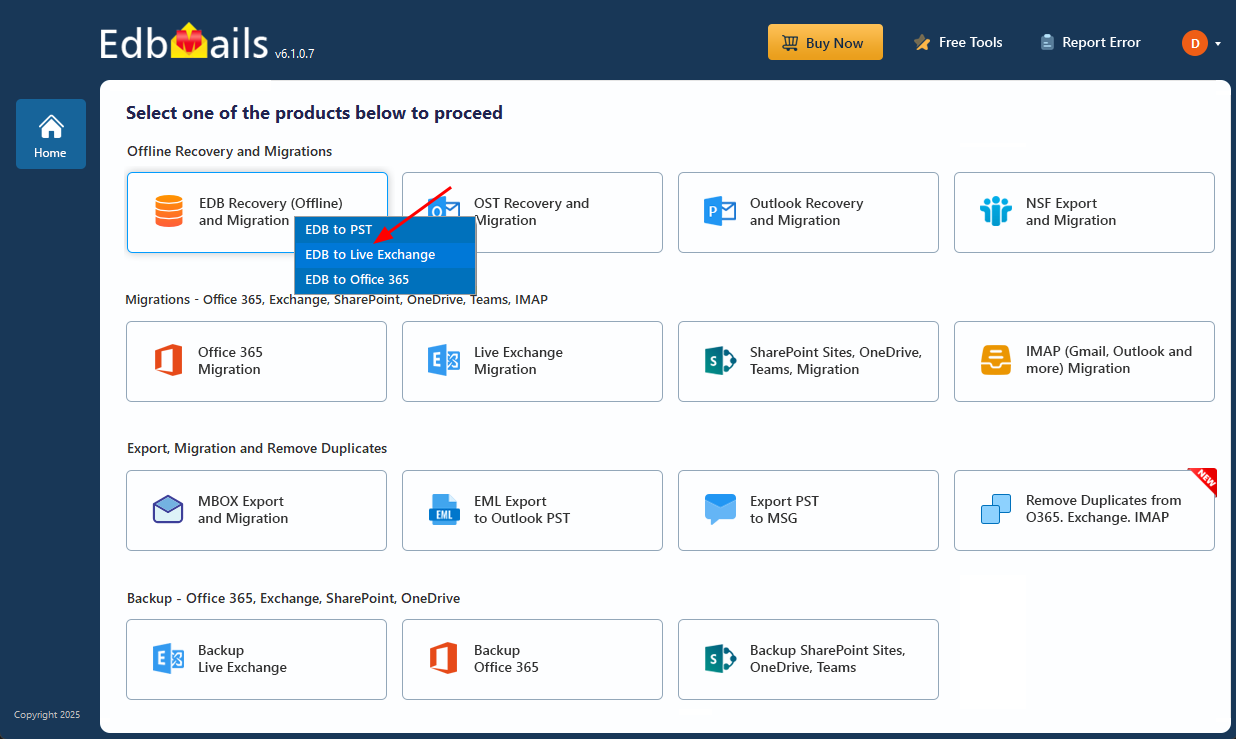
- Download and install EdbMails on your computer.

- Open the application and select ‘EDB to Live Exchange’.
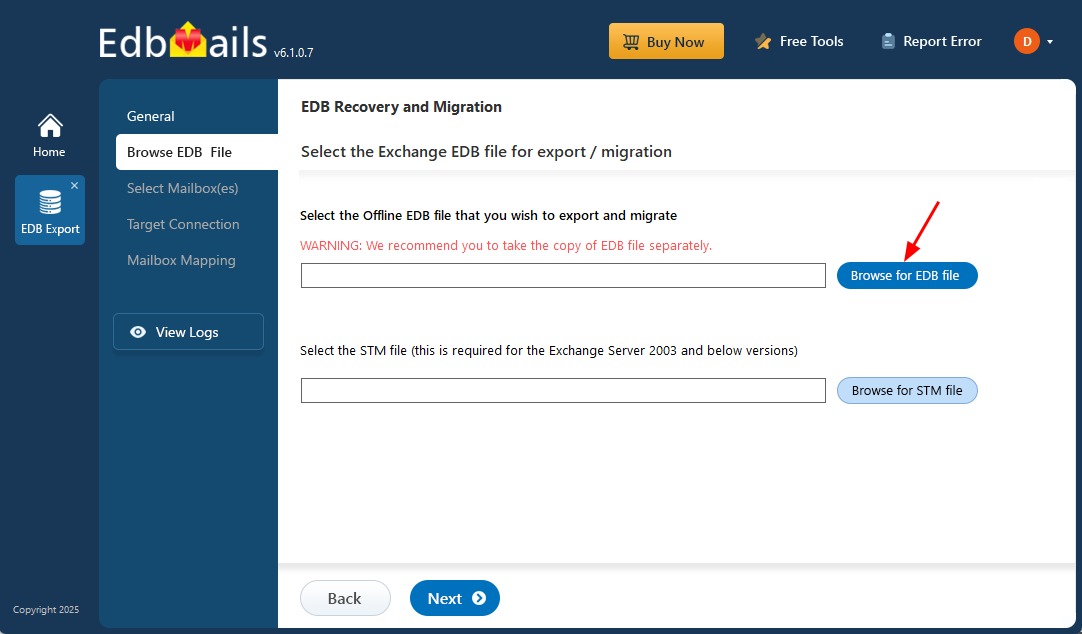
- Browse and add your EDB public folder.
- Select the mailboxes or folders you want to migrate.

- Connect to your target Exchange server from within the tool.

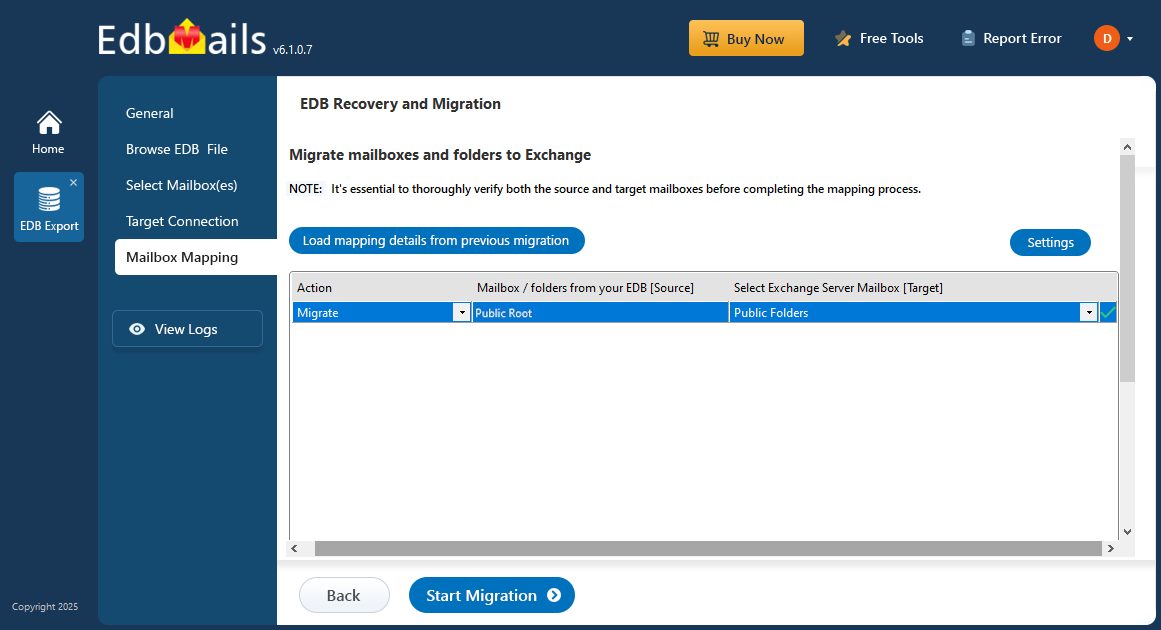
- Map the mailboxes (EdbMails can do this automatically).
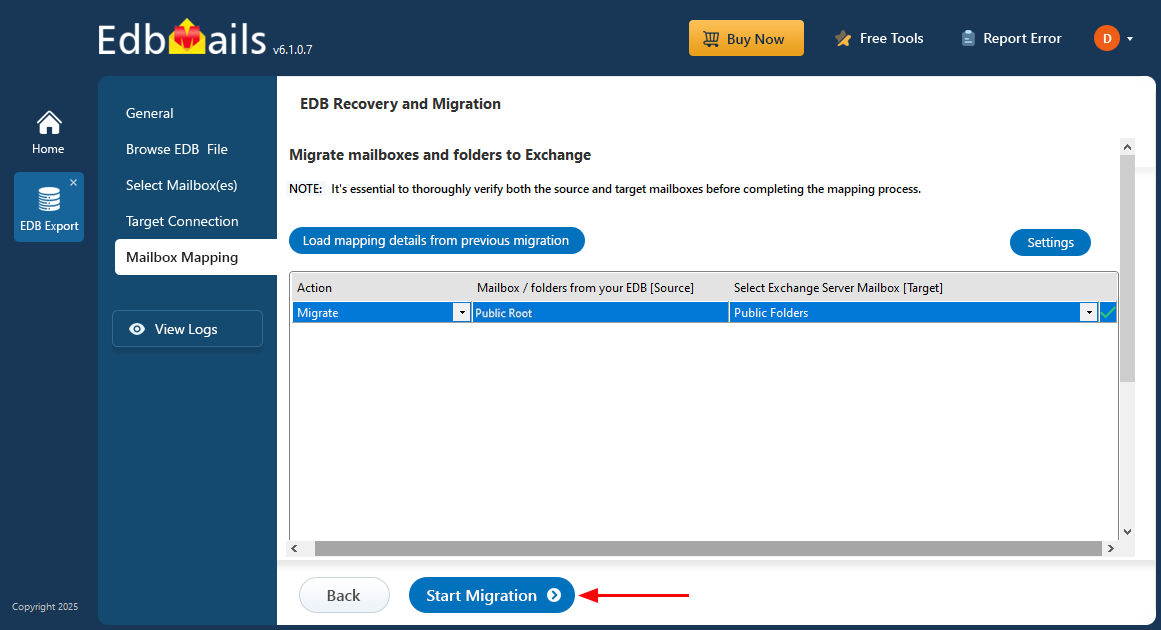
- Click on ‘Start Migration’.
For detailed instructions, refer to the step-by-step migration guide.