Although very few are aware of it, Office 365 provides a nifty tool to create auto-signatures or disclaimers for all users centrally. This can be a great way to personalize emails or meet regulatory compliance with legal disclaimers. Here we shall see how to add an auto signature using Outlook Web App in a few quick and easy steps.

Steps for Auto Signature in Office 365
The Office 365 Outlook Web App is capable of automatically adding text, or html, or even image signatures – let’s see how it’s done.
- Log in to office.com with your Office 365 account
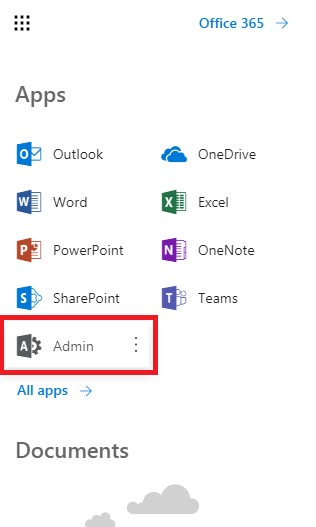
- Click the dots in the top left corner and select “Admin” – this will take you to the admin center.
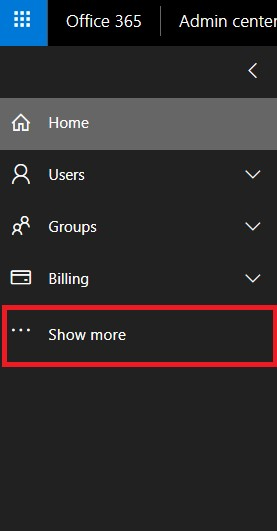
- Click “Show more” from the left sidebar
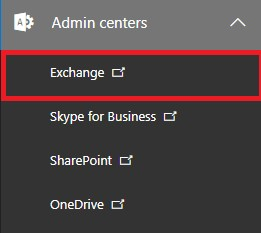
- Expand “Admin centers” and click “Exchange” to bring the Exchange admin center
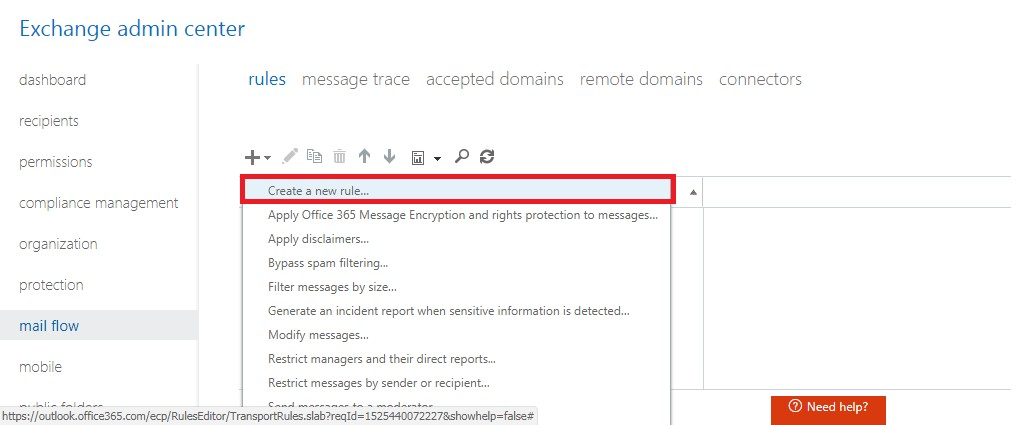
- Go to “mail flow” and “Create a new rule” by clicking the “+” icon
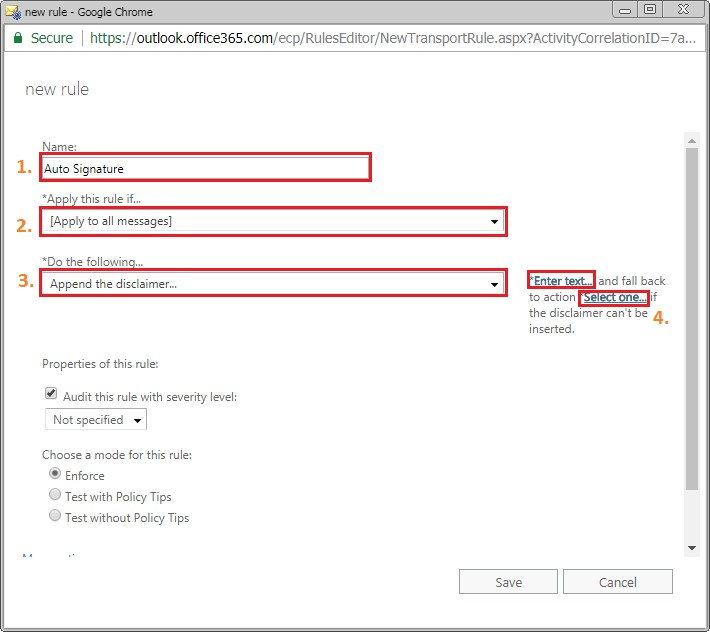
In the ‘new rule’ window
- Enter any name for the new rule.
- Choose [Apply to all messages] in *Apply this rule if…
- Choose ‘Append the disclaimer…’ in *Do the following…
- Choose the ‘Select one…’ option and select ‘wrap’ from the specify fallback action window that pops up
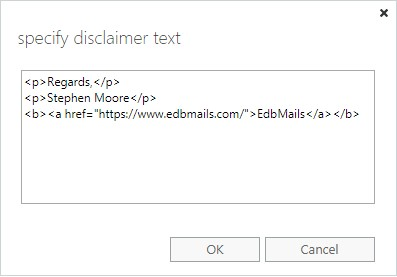
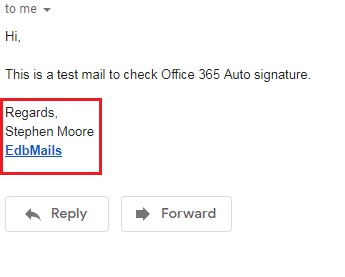
- Select “Enter text…” and key in your desired signature. Note: The field also supports HTML tags, so be sure to make use of that.
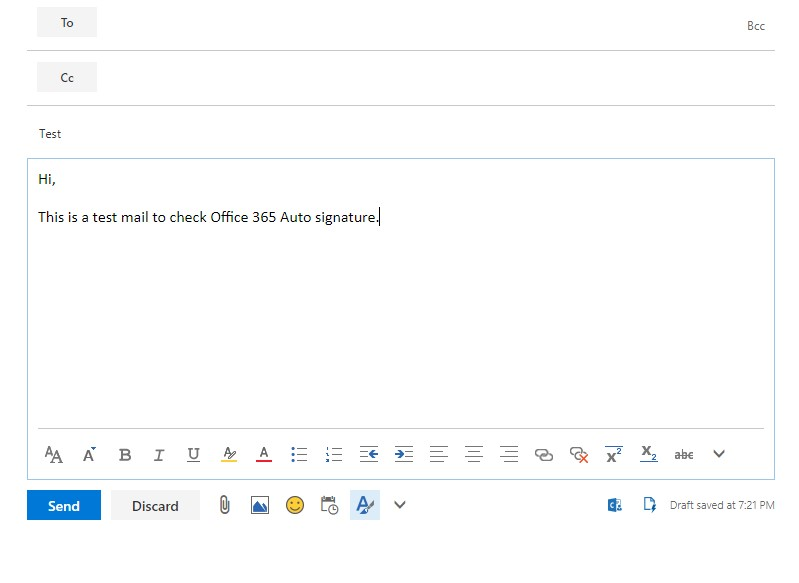
- Now you can send a test mail and see if it worked
Wrapping up So, for those of you who were wondering whether or not Office 365 supports centralized signature management, this blog provides a simple yet effective guide to enable automatic signatures on all outgoing emails in Office 365. If you want to know in what ways Office 365 is advantageous over an Exchange server, you can check this article.