In today’s digital world, email is the backbone of business communication. Microsoft Exchange Server plays a critical role in managing enterprise emails, calendars, tasks, and contacts. However, just like any IT system, Exchange is not immune to risks such as accidental deletions, hardware failures, ransomware, or even human errors. A single data loss incident can disrupt business operations, impact compliance, and lead to financial and reputational damage.
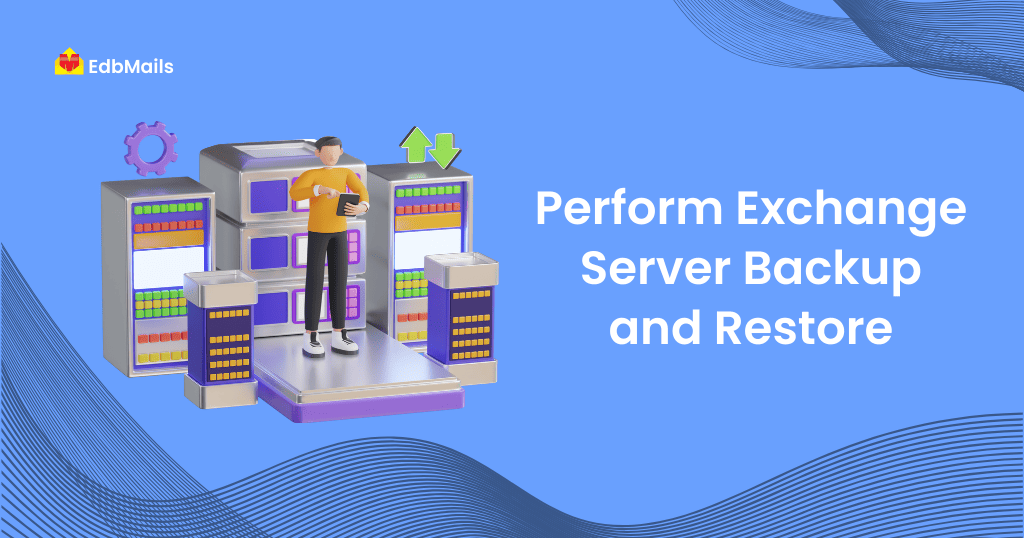
This makes Exchange Server backup and restore a must-have strategy for organizations of every size. Especially in cases where you need granular backup, long-term retention, or protection against cyberattacks. To address these gaps, third-party solutions like EdbMails Exchange Server Backup provide advanced, automated, and secure ways to safeguard your Exchange data.
Why is Exchange Server Backup Important?
Organizations face several risks when Exchange Server data is left unprotected:
- Accidental Deletion – Users may delete important emails or folders, making recovery essential.
- Server Failures – Hardware or software issues can result in corruption or downtime.
- Ransomware Attacks – Cyber threats can lock or encrypt mailboxes, leaving businesses helpless without backups.
- Compliance Requirements – Many industries require businesses to maintain data backups for legal and regulatory reasons.
- Disaster Recovery – Natural disasters, power outages, or site failures can wipe out critical data centers.
Having a reliable backup solution ensures that organizations can recover quickly without disrupting workflows.
Why Choose EdbMails for Exchange Backup and Restore?
EdbMails Exchange Backup is designed with simplicity, reliability, and security in mind. Unlike manual methods or native tools, EdbMails provides:
- Incremental Backup: Captures only new or changed items after the first backup, reducing storage use and time.
- AES 256-bit Encryption: Ensures backups are securely stored with enterprise-grade security.
- Private Encryption Key: Option to define your own key for compliance and data privacy.
- Granular Restore: Restore entire mailboxes, selected folders, or even individual emails.
- Scalability: Supports backing up hundreds of mailboxes without size or item restrictions.
- Pause & Resume: Manage backup operations seamlessly without data loss.
- Detailed Reports: View logs and monitor each backup or restore job for auditing.
In addition, EdbMails also offers Exchange Migration and Office 365 Backup, making it a versatile solution for hybrid and cloud environments.
Step-by-Step Guide to Backup Exchange Server Data
Prerequisites
Before starting the backup, ensure that you have:
- A Windows system with the EdbMails application installed.
- Administrative access to the Exchange Server.
- Adequate storage space for saving backup files.
Steps :
- Download and install the EdbMails application from the official website.
- Launch the application and log in with your registered email ID, or click Start Your Free Trial if you are new.
- From the product dashboard, select Backup Live Exchange.
- Choose Exchange Backup from the options.
- Assign a job name to identify your backup later.
- Select the folder path where backup data will be stored.
- Click Add New Connection to set up a new connection, or choose an existing one.
- Enter the Exchange Server details (server name, credentials, etc.) and log in.
- Load mailboxes automatically, or if you have more than 100 mailboxes, use a CSV file to load them without limitations.
- Select the mailboxes you wish to back up and click Next.
- Set up encryption: either use the default key or define a private encryption key.
- EdbMails will start backing up data incrementally. You can pause/resume the process at any point.
- After completion, view the backup logs for detailed reports.
For Detailed infographic Guide Read:- Step by step guide to backup Exchange server
For Detailed Video Guide watch:- Exchange Server Backup with EdbMails | Step-by-Step Tutorial
Step-by-Step Guide to Restore Exchange Mailbox Data
Restoring Exchange mailbox data is just as important as backing it up. EdbMails allows you to restore encrypted backups directly to the target Exchange Server without losing folder structure, metadata, or permissions.
Prerequisites
- A Windows machine with EdbMails installed.
- Connection details of the target Exchange Server.
- Access to the encrypted backup files.
- Download and install the EdbMails application from the official website.
- Open EdbMails application and log in.
- From the dashboard, select Backup Live Exchange.
- Click Restore to Exchange Server.
- Assign a job name for your restore operation.
- Click Add File(s) and browse to the location of your encrypted backup files.
- Select the files and click Next.
- Click Add New Connection to configure a new connection or select an existing one.
- Enter target server details and log in.
- Load mailboxes automatically or through a CSV file if required.
- Select the target mailboxes to restore data.
- Ensure that the action is set to Migrate
- Click Start Restore to begin.
EdbMails also supports incremental restore, allowing you to restore only new or modified items since the last backup, saving time and bandwidth.
For Detailed infographic Guide Read:-Step By Step Guide to Restore Exchange Mailbox Data
For Detailed Video Guide watch:- Restore Exchange Server Mailboxes with EdbMails | Step-by-Step Tutorial
Best Practices for Exchange Backup and Restore
To make the most of your Exchange backup strategy, keep these best practices in mind:
- Schedule Regular Backups – Back up daily or weekly to reduce the risk of data loss.
- Use Multiple Storage Locations – Store backups both locally and on secure external drives or cloud storage.
- Test Restores Regularly – Periodically restore a mailbox or folder to validate the integrity of your backups.
- Protect Encryption Keys – If you use a private key, store it securely since it’s required for restoring data.
- Monitor Reports – Review backup and restore logs to catch errors or incomplete jobs.
Conclusion
Email data is one of the most valuable assets for any organization, and protecting it should be a top priority. While Exchange offers some built-in data protection, relying solely on native options leaves gaps that could put your business at risk. With EdbMails Exchange Server Backup, you get a robust, secure, and easy-to-use solution that ensures your mailboxes are always protected and recoverable.
From incremental backups to AES 256-bit encryption and granular restore capabilities, EdbMails gives you full control over your Exchange data. Whether you need to recover a single email, an entire mailbox, or prepare for disaster recovery, EdbMails ensures your Exchange environment remains resilient.
Beyond backups, EdbMails also offers Exchange Migration, Office 365 Migration, and Office 365 Backup, making it a one-stop solution for data protection and migration needs.
By implementing a proper backup and restore strategy with EdbMails, you can safeguard your business-critical communications, ensure compliance, and maintain business continuity even in the face of unexpected disruptions.