Microsoft Office 365 has rapidly become the backbone of modern workplaces. From small startups to global enterprises, it is used for email communication, collaboration, file storage, and productivity. Its flexibility, cloud accessibility, and wide range of business applications make it a natural choice for organizations that want scalability and cost efficiency.
However, the growing adoption of Office 365 has also introduced challenges in managing data during tenant-to-tenant migrations and backups. Mergers, acquisitions, domain changes, and compliance requirements often force businesses to move data between different tenants. At the same time, backup is equally critical because accidental deletions, cyber threats, and outages can result in data loss.
Native options for migration and backup exist, but they are complex, limited, and prone to downtime. That’s where purpose-built third-party solutions like EdbMails Office 365 migration and backup tool play a vital role by providing a secure, fast, and reliable way to handle these operations without business disruption.
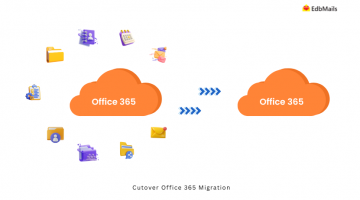
Native Office 365 migration options and their drawbacks
Microsoft provides built-in methods like cutover, staged, and hybrid migration for Office 365. While functional, they come with significant limitations that impact performance and usability:
- Throttling and performance restrictions: Microsoft imposes limits on how much data can be transferred at a given time. This slows down the migration process.
- Downtime and complexity: Native methods often require detailed planning, scripting knowledge, and extended downtime, which disrupts business continuity.
- Incomplete migrations: Network issues or misconfigurations may cause failed or partial migrations, leaving administrators with missing data.
- Lack of automation: Native approaches lack advanced features like automatic mailbox mapping, filters, and detailed reporting.
- Backup limitations: While migration options exist, Office 365 does not provide a full-fledged backup solution. This exposes businesses to risks like accidental deletions, ransomware attacks, or compliance violations.
For these reasons, organizations often seek robust third-party tools that simplify the process and guarantee data integrity.
Why migration and backup are critical for businesses
Data migration and backup are not just IT tasks; they are essential for business continuity and compliance. Here’s why:
- Data loss risks: Accidental deletions, server crashes, or misconfigured policies can wipe out critical information.
- Security threats: Phishing, ransomware, and unauthorized access can compromise sensitive data. Backup ensures quick recovery.
- Regulatory compliance: Many industries must adhere to strict regulations for data protection. Reliable backup is a compliance requirement.
- Business continuity: Smooth tenant-to-tenant migration ensures that email, calendars, contacts, Teams, and SharePoint data remain accessible during organizational changes.
- Strategic advantage: A combined approach of migration plus backup ensures that businesses are prepared not just for planned transitions but also for unexpected disruptions.
Tenant-to-tenant Office 365 migration with EdbMails
EdbMails makes tenant-to-tenant Office 365 migration a straightforward and secure process with minimal technical effort. Follow these steps:
Step 1: Download and Install EdbMails
Get the latest EdbMails setup file, install it on your system, and launch the application.
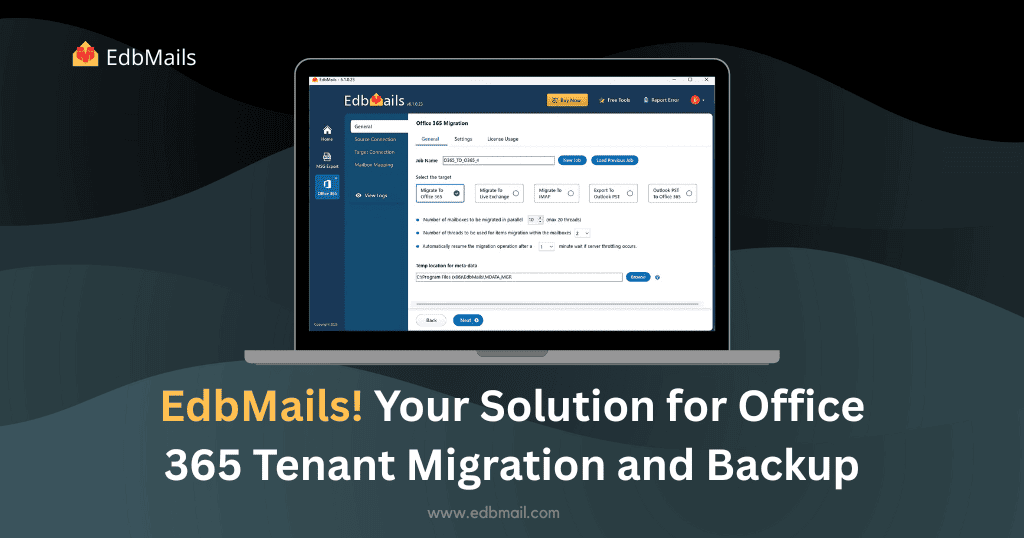
Step 2: Select Office 365 Migration Option
From the main dashboard, choose “Office 365 Migration” to initiate the process.
Step 3: Connect to the Source Tenant
Log in with your Office 365 administrator credentials. EdbMails automatically lists all user mailboxes. If needed, you can also load mailboxes via a CSV file.
Step 4: Connect to the Target Tenant
Provide admin credentials for the destination Office 365 tenant and establish a secure connection.
Step 5: Map Mailboxes
EdbMails offers flexible mapping options—automatic, manual, or CSV-based — to match source mailboxes with their corresponding target mailboxes.
Step 6: Start the Migration
Select the mailboxes you want to transfer and begin the migration. You can monitor progress in real time. EdbMails performs incremental migration, ensuring only new or updated items are transferred, avoiding duplicates and reducing workload.
Step 7: Verify Migrated Data
Once the migration is complete, verify emails, contacts, calendars, and tasks in the destination tenant to ensure data accuracy.

Office 365 Backup with EdbMails
Backup is just as crucial as migration, and EdbMails offers a reliable solution to protect and restore Office 365 data without complexity. The process is straightforward and ensures security at every step.
Step 1: Download and install EdbMails Office 365 Backup software
Install the tool on your system and launch it. Select “Office 365 Backup” from the dashboard to begin.
Step 2: Connect to the source Office 365 server
Login using your Office 365 admin credentials. The software automatically lists all mailboxes from the tenant. Select single or multiple mailboxes you want to back up.
Step 3: Start Office 365 Backup operation
- Choose a local drive or external storage as the backup destination.
- Apply AES-256-bit encryption with a private key for maximum security.
- Start the backup and monitor the progress in real-time through detailed status reports.
After completion, the tool generates comprehensive logs. You can restore the backup anytime directly to Office 365 or export it into multiple formats such as PST, MBOX, EML, or PDF.

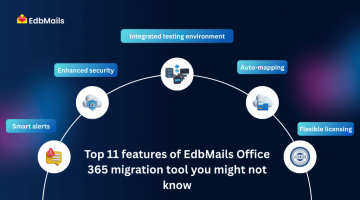
Key features of EdbMails for migration and backup
EdbMails stands out in the crowded market due to its extensive feature set designed for enterprise-grade performance:
- Incremental migration and backup: Transfers only new or updated items to save time and avoid duplicates.
- Zero downtime: Users continue accessing their mailboxes while migration or backup runs in the background.
- AES-256-bit encryption: Ensures maximum security of data during backup and storage.
- Concurrent mailbox migration: Perform multiple mailbox migrations simultaneously for faster throughput.
- Automatic mailbox mapping: Saves admin time by intelligently mapping source to target mailboxes.
- Advanced filtering: Migrate or back up specific items based on date, subject, or other filters.
- Multiple export formats: Save backups in PST, MBOX, EML, DOC, PDF, and more.
- Compatibility: Works seamlessly with all versions of Windows and supports modern authentication.
- Detailed reports: Provides progress monitoring, error handling, and migration logs for auditing and compliance.
- Restore capability: Import backups back to Office 365 or Exchange without data loss.
Wrapping Up
Office 365 tenant-to-tenant migration and backup are complex yet essential tasks for modern businesses. Native methods fall short in terms of speed, security, and reliability. EdbMails eliminates these limitations by providing an all-in-one solution that simplifies the process, reduces downtime, and ensures data integrity.
With features like incremental migration, AES-256 encryption, advanced filters, and automatic mailbox mapping, EdbMails empowers IT administrators to execute migrations and backups confidently.
If your organization is planning a migration or wants to secure Office 365 data, EdbMails is a solution you can trust. Start with a free trial today and experience seamless migration and backup for your business.